
Introduction
After the last post of this blog series we now have a very nicely distributed and scalable 3D Perception demo for Autoware.Auto.
In this blog post we will cover the last piece of the puzzle: how do we go about updating the k8s pods? Thanks to the k8s infrastructure the process to update or roll back images can be easily achieved. As we did in the previous post we will run the 3D Perception demo using a combination of AutoCore’s PCU and Qualcomm® Robotics (RB3) Dragonboard-845c Development Platform.
This post is organized as follows:
Setting up the 3D Perception demo
To avoid uncessary repetition and as we just need to set the k8s cluster and the 3D Perception demo in the same way as before, please check the previous post to follow the step by step process outlined there. As a brief summary we need to:
- Bring up the k8s cluster.
- Kick-off the master on the laptop.
- Join PCU and RB3 to the cluster as workers, default names for the nodes are
localhostandlinaro-aliprespectively.
- Apply the k8s deployment yaml files that are hosted here.
We are now in a situation like the one shown below. 
k8s rolling update
As mentioned above it is quite straighforward to perform an update of the running image in one of our k8s deployments. To illustrate the process we will perform an update on the sensing-rear-lidar deployment.
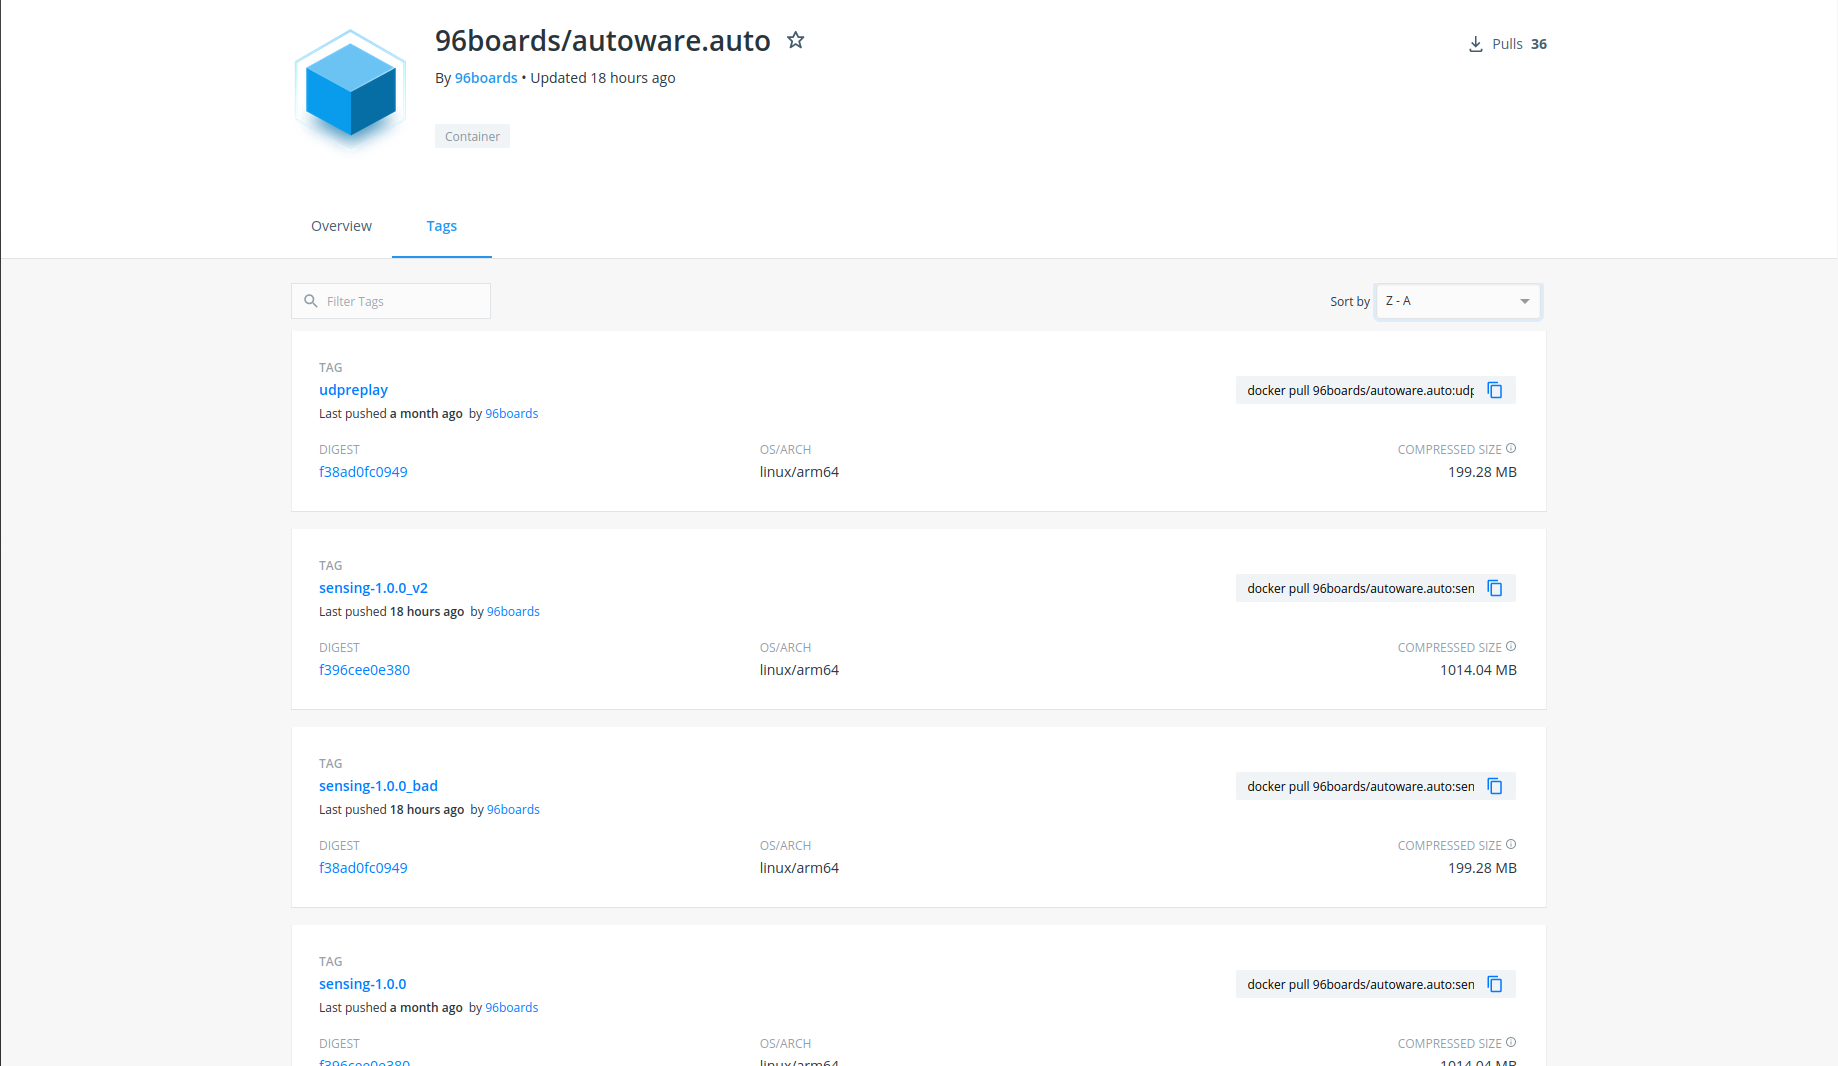
For the purpose of this blog post we have added 2 new images to the 96Boards Dockerhub repo namely sensing-1.0.0_v2 and sensing-1.0.0_bad. These images are just a retag of the sensing-1.0.0 and udpreplay images respectively, so the _v2 image contains the Velodyne driver nodes and the _bad image will lead to an error during the update as the Velodyne driver node is not available.
The first thing we need is to identify the name of the pod container within the deployment that we want to update. The sensing-rear-lidar is a single pod deployment and using the kubectl describe command we can find the name of the pod container as shown below.
We can see that the pod name is sensing-rear-lidar-5f78dd8f44-nmb9d and that the pod container name is rear-lidar-pod. To update the image from sensing-1.0.0 to sensing-1.0.0_v2 we just need to do:
$ kubectl set image deployment sensing-rear-lidar rear-lidar-pod=96boards/autoware.auto:sensing-1.0.0_v2
and we can check the progress of the rollout as:
$ kubectl rollout status deployment sensing-rear-lidar
After the rollout is completed we can check that the new pod (named sensing-rear-lidar-799fddb689-jcc2m) is using the new image by using the kubectl describe command.
We can then check that all the pods are running.
Now we can go back on the rolled update by simply doing:
$ kubectl rollout undo deployment sensing-rear-lidar
We can see that the new pod with the old image is sensing-rear-lidar-5f78dd8f44-bt5q2. Now let’s try rolling an update with the sensing-1.0.0_bad image which will fail upon running as the Velodyne driver is not available.
As shown above the kubectl rollout status command gets stuck and also k8s keeps the older pod with the sensing-1.0.0 image running as the new one is stuck in a Error state. Upon finding this situation we can simply roll back the update to keep the previous pod that was running apropriately.
Visualization
Now that we know how to roll an update for an image let’s see what happens when we visualize the lidar pointcloud. Since the default config for the 3D Perception shows the front lidar data we will roll the update to this pod’s container. To do so we just need to do as above:
$ kubectl set image deployment sensing-front-lidar front-lidar-pod=96boards/autoware.auto:sensing-1.0.0_v2
And as shown below we can see that upon successful completion of the update we keep getting a nice feed of the pointcloud in Rviz2. 
Conclusion
In this post we have added the missing piece for our k8s deployment management capabilities: being able to roll image updates when needed, as well as exploring the way to take the update back in case the new image fails for whatever reason. With this blog post we complete our exploration on scalability of Autoware.Auto using k8s where we have shown how easy it is to deploy and manage the different software modules on multiple boards.
This article is Part 15 in a 15-Part Series.
- Part 1 - 96boards: Autoware everywhere | Autoware.AI and Hikey970
- Part 2 - 96boards: Autoware everywhere | Autoware.Auto and Hikey970
- Part 3 - 96boards: Autoware everywhere | Bridging .AI and .Auto in the Hikey970
- Part 4 - 96boards: Autoware everywhere | Autoware.AI and Dragonboard-845c
- Part 5 - 96boards: Autoware everywhere | Autoware.Auto, bridge with .AI and Dragonboard-845c
- Part 6 - 96boards: Autoware everywhere | Binding Autoware.AI nodes to CPUs
- Part 7 - 96boards: Autoware everywhere | Defaulting to Cyclone DDS
- Part 8 - 96boards: Autoware everywhere | First look at AutoCore's PCU
- Part 9 - 96boards: Autoware everywhere | meta-arm-autonomy in AutoCore's PCU
- Part 10 - 96boards: Autoware everywhere | Running Cyclone DDS on Kubernetes
- Part 11 - 96boards: Autoware everywhere | Xenomai on PCU
- Part 12 - 96boards: Autoware everywhere | K8s-based Autoware deployment on PCU
- Part 13 - 96boards: Autoware everywhere | Autoware.Auto 3D Perception Stack using k8s on PCU
- Part 14 - 96boards: Autoware everywhere | Multi-board Autoware.Auto 3D Perception Stack using k8s
- Part 15 - 96boards: Autoware everywhere | Updating Autoware.Auto 3D Perception Stack modules


