Introduction
In our previous blog post we showed how to we can use Kubernetes (k8s) to create different deployments to replay and echo a rosbag2 data file. Though it was an interesting first step it falls far from being close to what an actual deployment on a vehicle would be.
In this blog post we take the setup further and use the Autoware.Auto software stack to reproduce the 3D perception demo using k8s.
This post is organized as follows:
Autoware.Auto
As we have covered in earlier posts, Autoware.Auto is the next generation successor of the Autoware.AI project through a complete rewrite of the different modules using ROS2 and improved methodology.
Following a succesful Autonomous Valet Parking demo, code and documentation cleanup, Autoware.Auto 1.0.0 has been released. We are using this release in this post.
PCU setup
The first thing we need to do is install k8s in the PCU and laptop. To do so we have first flashed the PCU with Autocore’s provided image as we explained in this post. We have used the latest release from AutoCore which, at the time of writing, is 20201214 Release Package.
After getting the PCU SD card ready we can boot the board, ssh into it and install k8s as we did before here.
Note We need to enable iptable forwarding rules on the PCU for the pods to communicate with each other, we can do so as:
$ iptables -P FORWARD ACCEPT
k8s setup
As we mentioned above the main idea behind the k8s configuration is to split the Autoware.Auto software components into different deployments so they can be managed independently and run as individual services across the k8s cluster. In this demo we will be using 3 deployments:
udpreplay: replays the Velodyne pcap data.sensing: 2-pod deployment for the front and rear Velodyne driver nodes.perception3d: multi-pod deployment for the robot state publisher, point cloud filter transform, ray ground classifier and euclidean cluster nodes.
Furthermore, we would expect that each deployment would use a docker image tailored to its needs rather than a more general one, so, instead of building the full Autoware.Auto we have put together 3 Docker images with the needed nodes for each deployment. These images can be found in the 96boards/autoware.auto dockerhub repo.
Taking this into account we are now ready to create the k8s cluster and the 3 deployments. In addition, as we did in the previous post we will be using Rviz2 on the laptop for visualization purposes.
Running the k8s pods
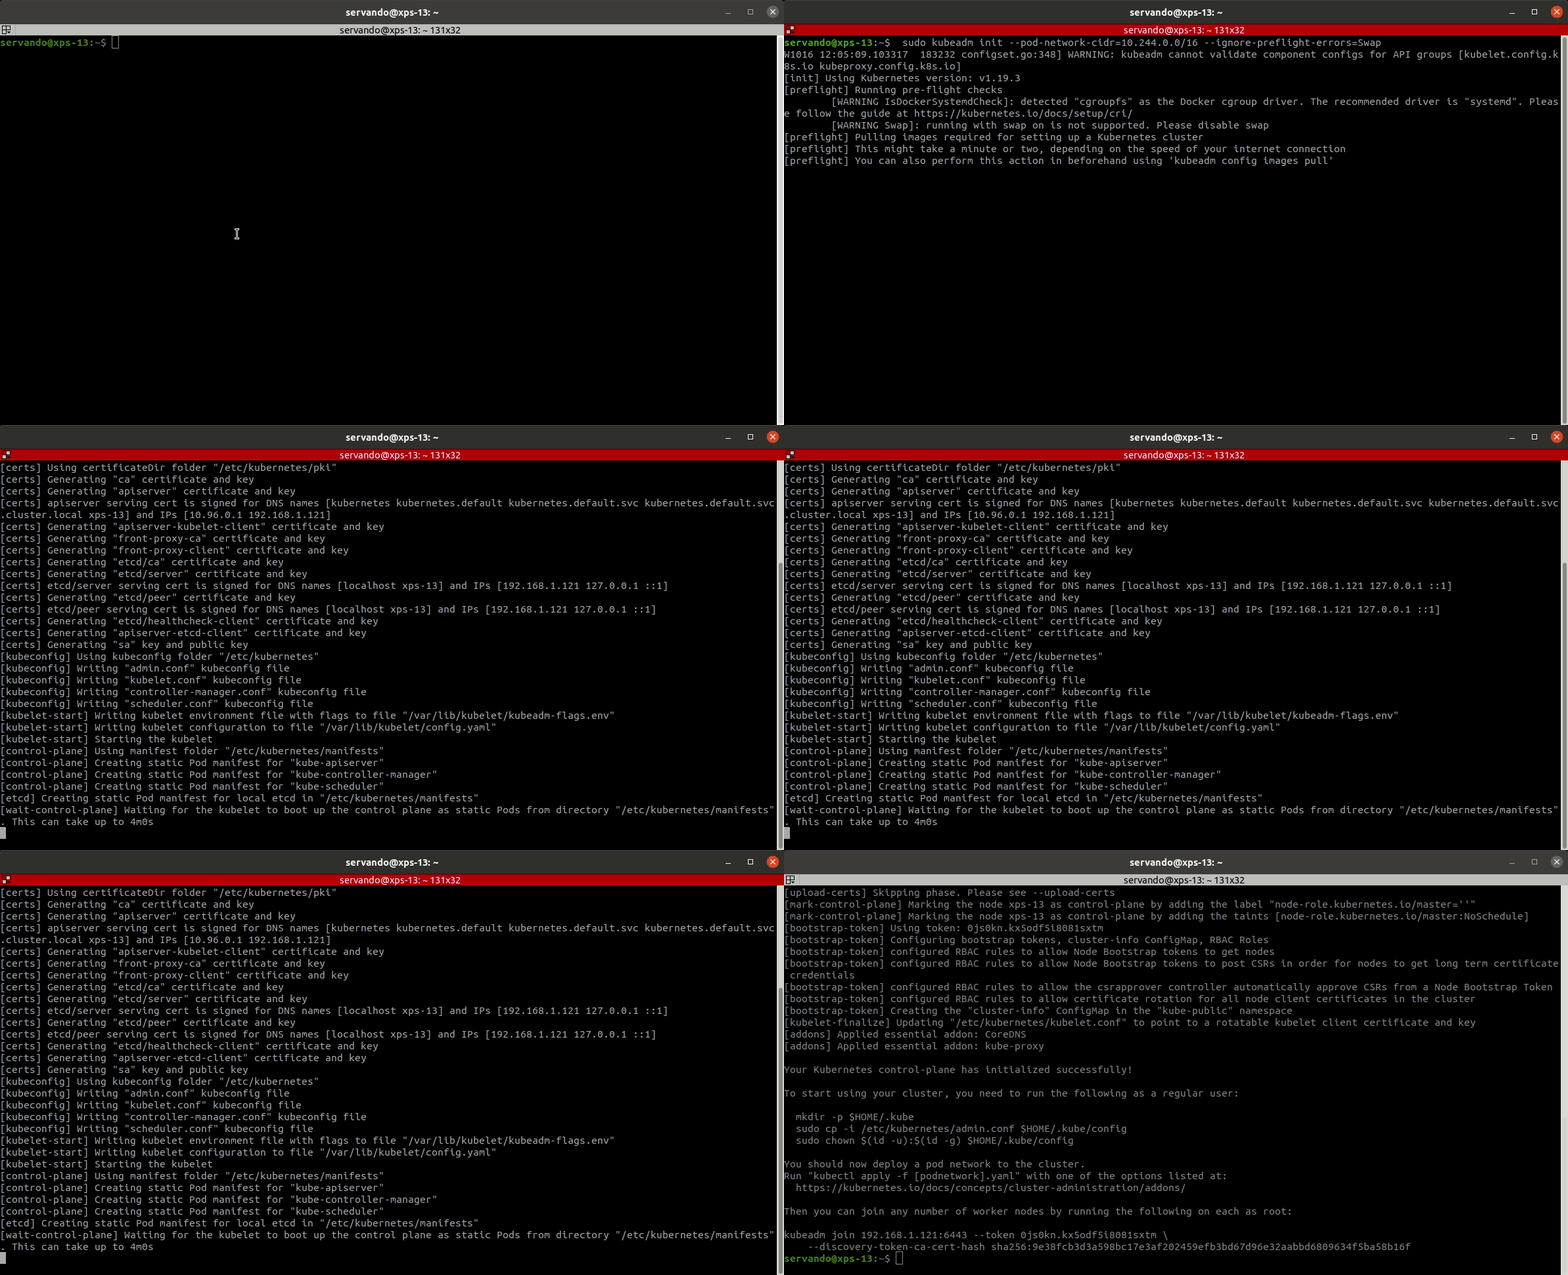
We are now ready to get things running on k8s, for the fully detailed steps please check our first post about k8s. As a recap, we need to:
- Kick off the master node in the laptop.

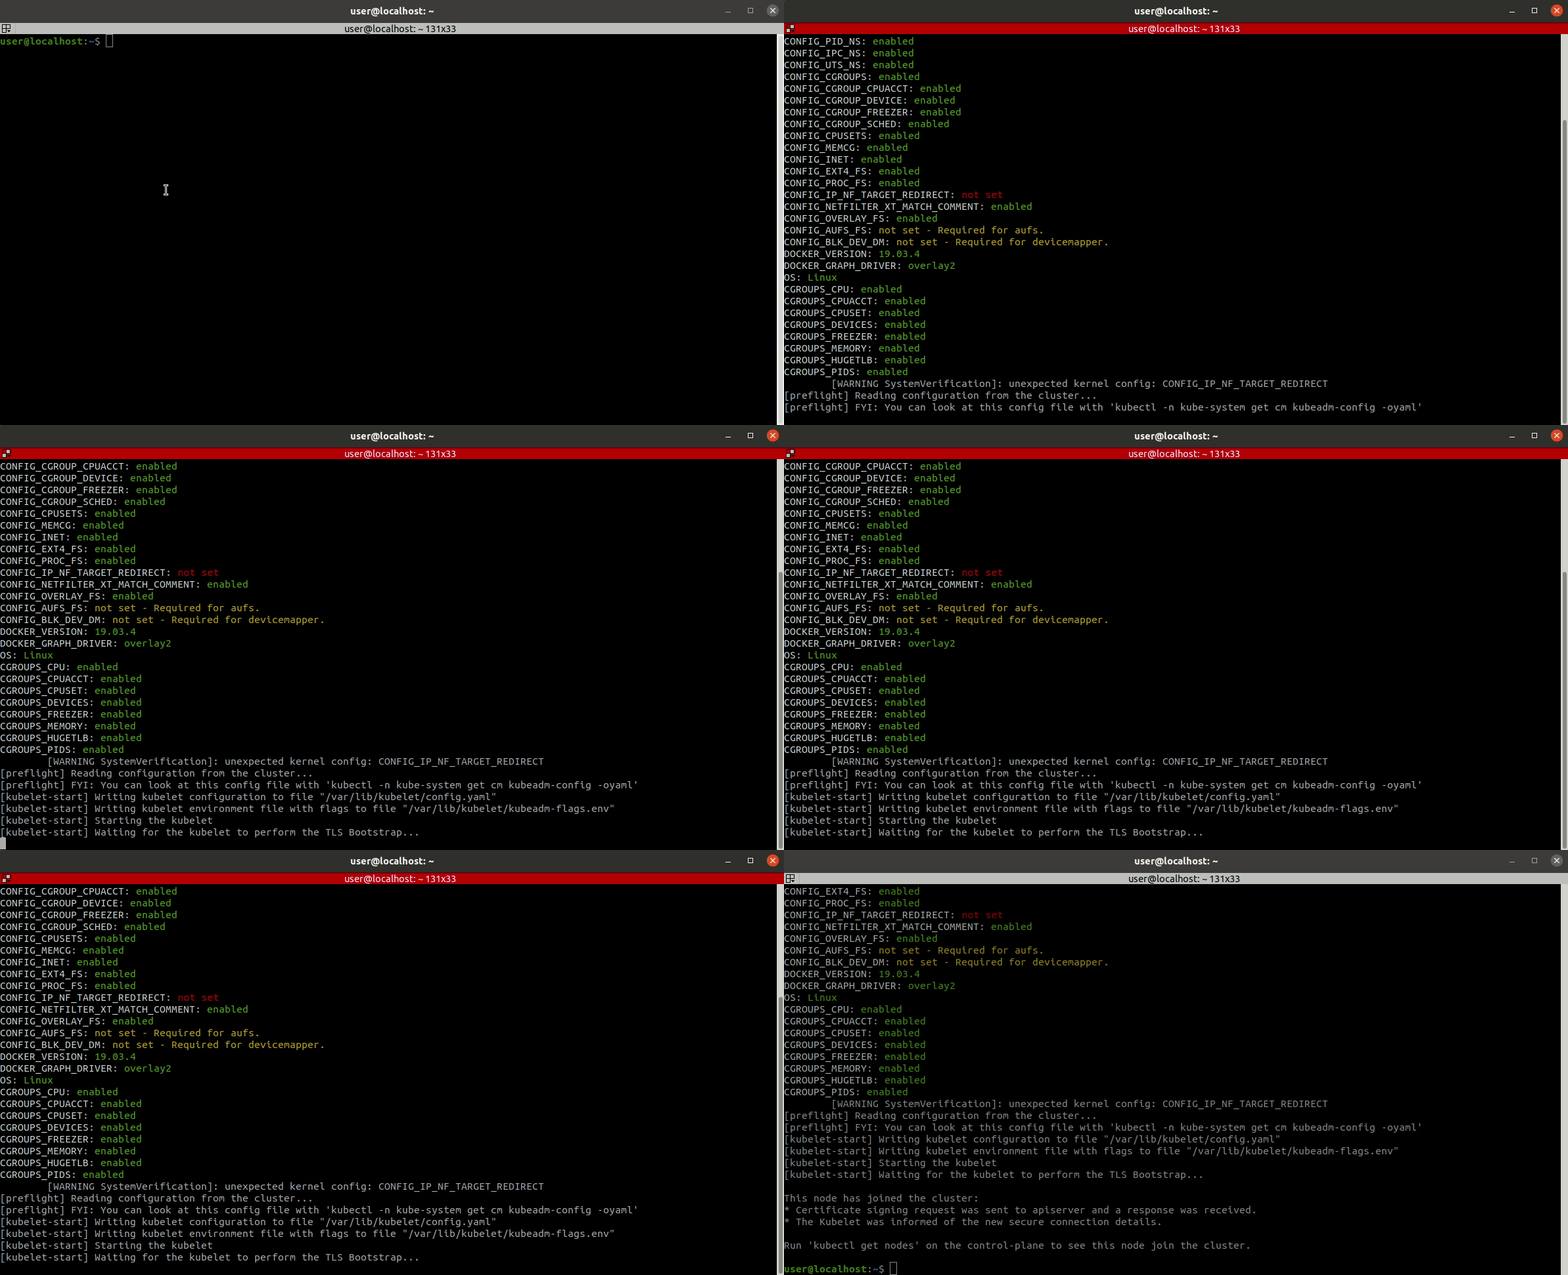
- Join the PCU as a worker node.

- Enable the Flannel CNI add-on and copy the Flannel environment variables to the PCU.
We can check that the worker node on the PCU has joined the cluster by running kubectl get nodes on the laptop as shown below. 
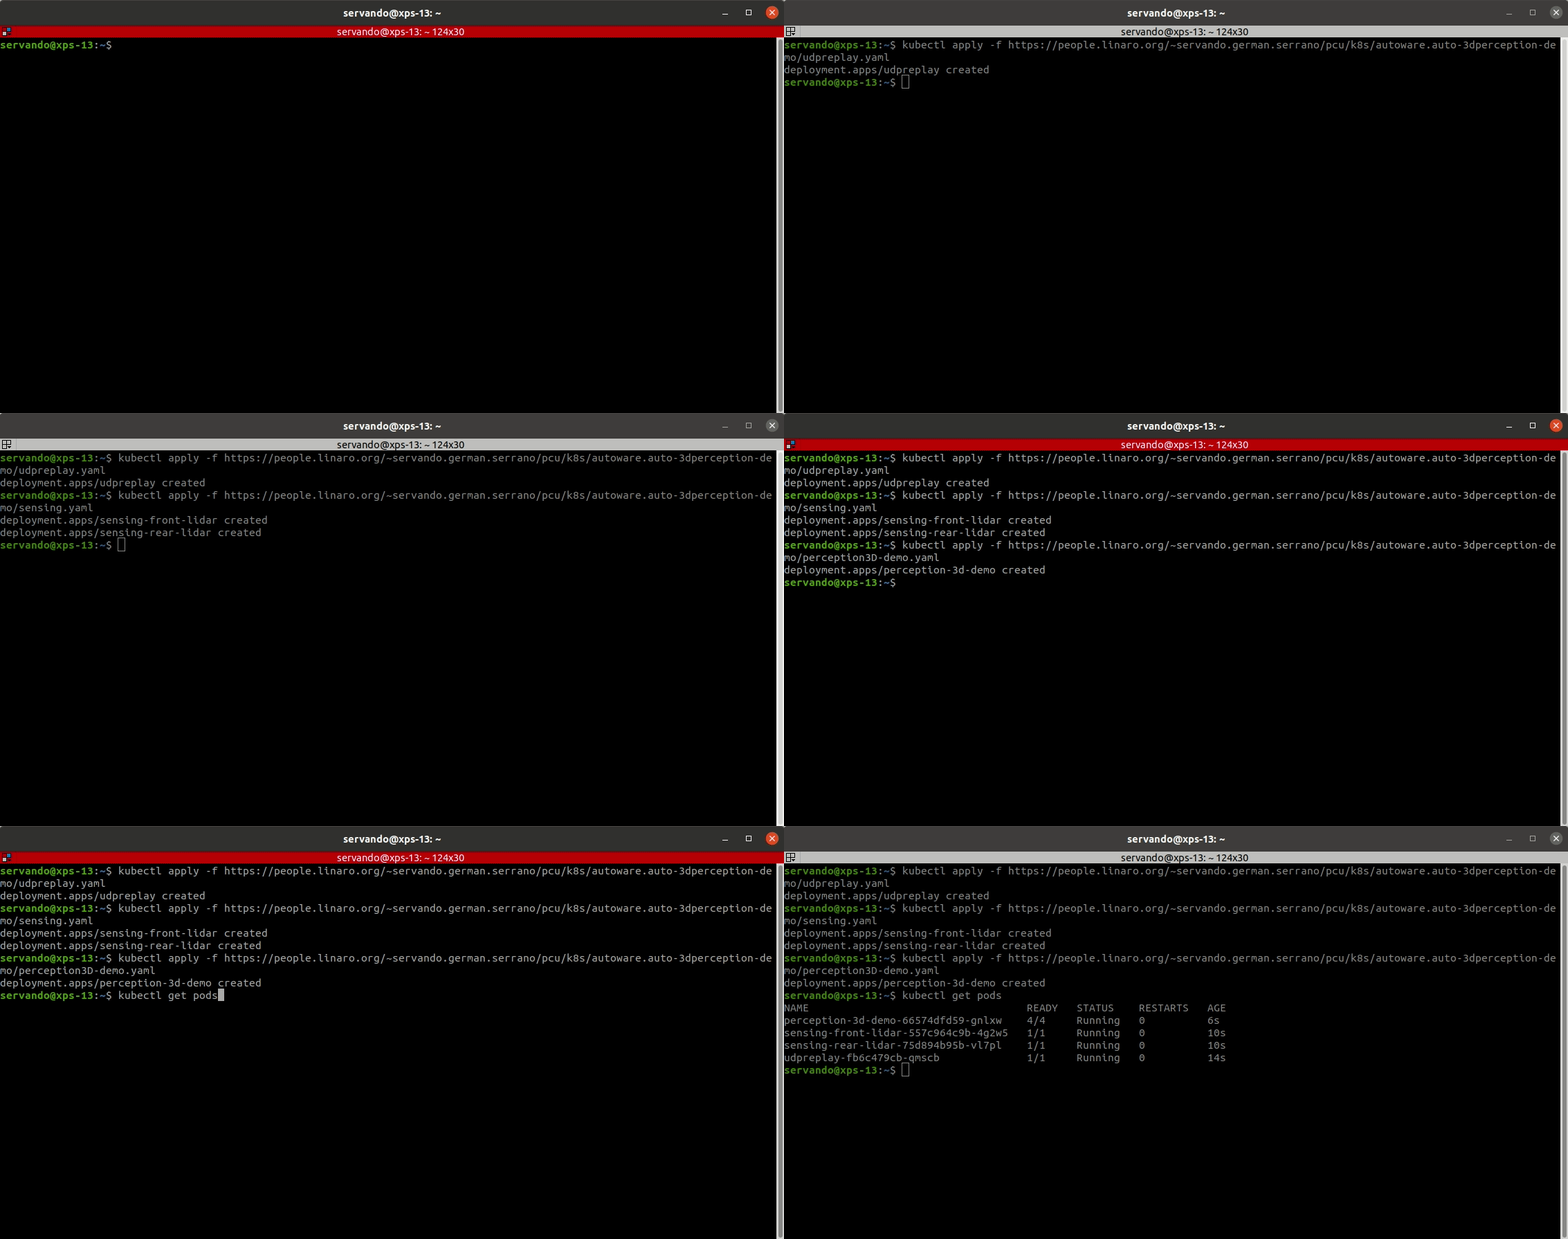
Now that our k8s cluster is up and running we just need to create our deployments. The yaml files are available here.
$ kubectl apply -f https://people.linaro.org/~servando.german.serrano/pcu/k8s/autoware.auto-3dperception-demo/udpreplay.yaml
$ kubectl apply -f https://people.linaro.org/~servando.german.serrano/pcu/k8s/autoware.auto-3dperception-demo/sensing.yaml
$ kubectl apply -f https://people.linaro.org/~servando.german.serrano/pcu/k8s/autoware.auto-3dperception-demo/perception3D-demo.yaml

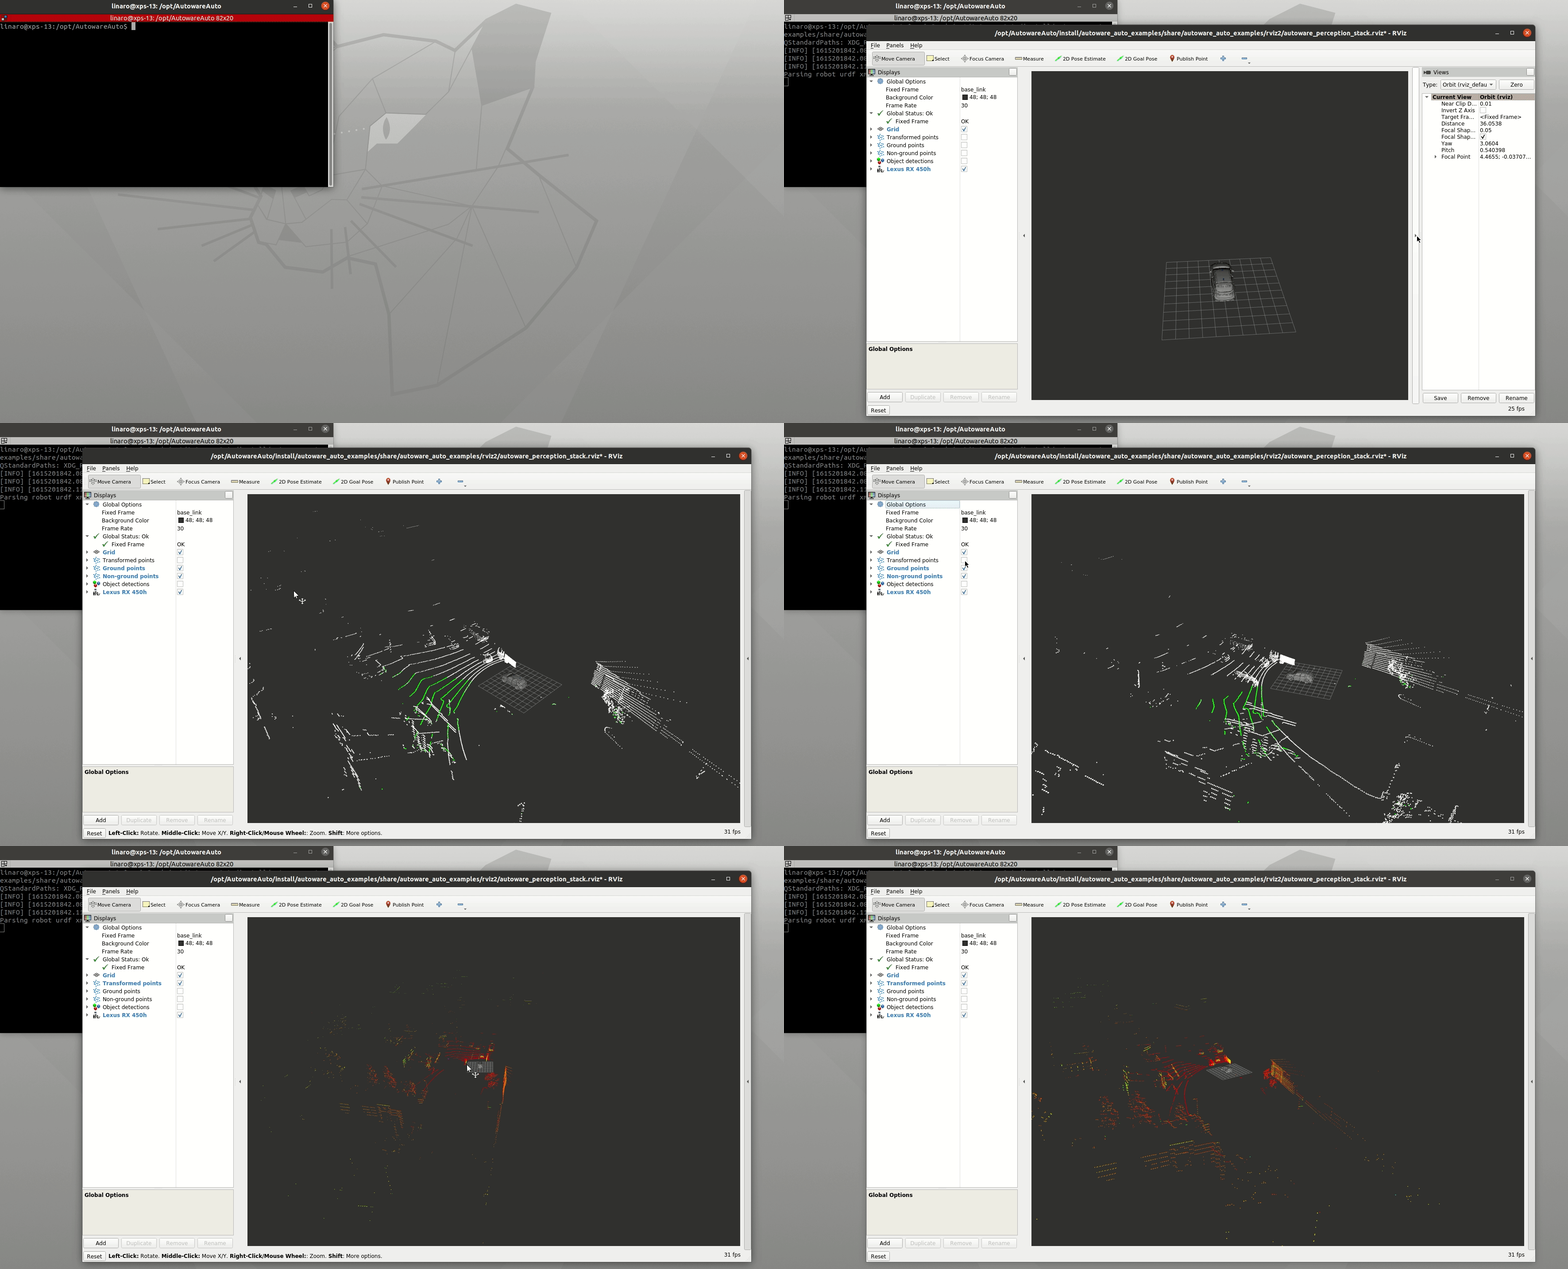
And the Rviz2 visualization on the laptop. 
Conclusion
In this post we have explored a bit further on splitting some Autoware.Auto modules using k8s. In addition we have used different Docker images for each deployment as it’ll make it easier to update them when the time comes since they are lighter than a fully-built Autoware.Auto image. We will continue exploring what we can do with k8s in the near future so keep an eye to this space.
This article is Part 13 in a 15-Part Series.
- Part 1 - 96boards: Autoware everywhere | Autoware.AI and Hikey970
- Part 2 - 96boards: Autoware everywhere | Autoware.Auto and Hikey970
- Part 3 - 96boards: Autoware everywhere | Bridging .AI and .Auto in the Hikey970
- Part 4 - 96boards: Autoware everywhere | Autoware.AI and Dragonboard-845c
- Part 5 - 96boards: Autoware everywhere | Autoware.Auto, bridge with .AI and Dragonboard-845c
- Part 6 - 96boards: Autoware everywhere | Binding Autoware.AI nodes to CPUs
- Part 7 - 96boards: Autoware everywhere | Defaulting to Cyclone DDS
- Part 8 - 96boards: Autoware everywhere | First look at AutoCore's PCU
- Part 9 - 96boards: Autoware everywhere | meta-arm-autonomy in AutoCore's PCU
- Part 10 - 96boards: Autoware everywhere | Running Cyclone DDS on Kubernetes
- Part 11 - 96boards: Autoware everywhere | Xenomai on PCU
- Part 12 - 96boards: Autoware everywhere | K8s-based Autoware deployment on PCU
- Part 13 - 96boards: Autoware everywhere | Autoware.Auto 3D Perception Stack using k8s on PCU
- Part 14 - 96boards: Autoware everywhere | Multi-board Autoware.Auto 3D Perception Stack using k8s
- Part 15 - 96boards: Autoware everywhere | Updating Autoware.Auto 3D Perception Stack modules


