
Introduction
Kubernetes (k8s) is an open-source system for automating deployment, scaling, and management of containerized applications. Kubernetes allows us to easily handle multiple distributed applications that might need to be deployed, managed (scaling up or down) and updated on a regular basis.
In this post we explore how to use k8s to deploy two Cyclone DDS based applications on Autocore’s PCU and whether introducing the k8s infrastructure impacts the performance of Cyclone DDS. In order to do so we will use the ddsperf tool that is available as part of Cyclone DDS.
This post is organized as follows:
Testing setup
For the k8s test we will use the PCU and a laptop as follows:
- Laptop: used to run the k8s master node
- PCU: used to run k8s deployment pods for the Cyclone DDS tasks.
We need to install k8s on laptop and PCU and the steps below are the same for both.
Installing k8s
The first thing we need to do is install k8s in the PCU and laptop. To do so we have first flashed the PCU with Autocore’s provided image as we explained in this post.
After getting the PCU SD card ready we can boot the board and ssh into it.
The following installation steps are the official ones from the k8s documentation to install kubeadm, kubelet and kubectl.
$ sudo apt-get update && sudo apt-get install -y apt-transport-https curl
$ curl -s https://packages.cloud.google.com/apt/doc/apt-key.gpg | sudo apt-key add -
$ cat <<EOF | sudo tee /etc/apt/sources.list.d/kubernetes.list
  deb https://apt.kubernetes.io/ kubernetes-xenial main
  EOF
$ sudo apt-get update
$ sudo apt-get install -y kubelet kubeadm kubectl
$ sudo apt-mark hold kubelet kubeadm kubectl
Running the performance test
As part of this post we have built a suitable Docker image which contains a compiled Cyclone DDS and a couple of its examples.
Now that the PCU is set up and running with k8s we are ready to run the performance test for Cyclone DDS. To do so we are using the perftest script available in the examples/perfscript folder within the Cyclone DDS source code. This script relies on having ssh connection between the multiple machines that run the ping-pong or sub-pub sides of the performance tests.
To avoid security issues between containers, as we would need to enable a common key pair for the container image to allow the automatic ssh connection without password, we have modified the perftest slightly and split it in 2 pieces which we can run independently for each deployment. The split scripts are available as part of our Docker image and are not meant to replace the original perftest script since the split has not been done in a clean way, i.e. just commenting and deleting what was not needed for the sake of this blog post and test.
Docker containers
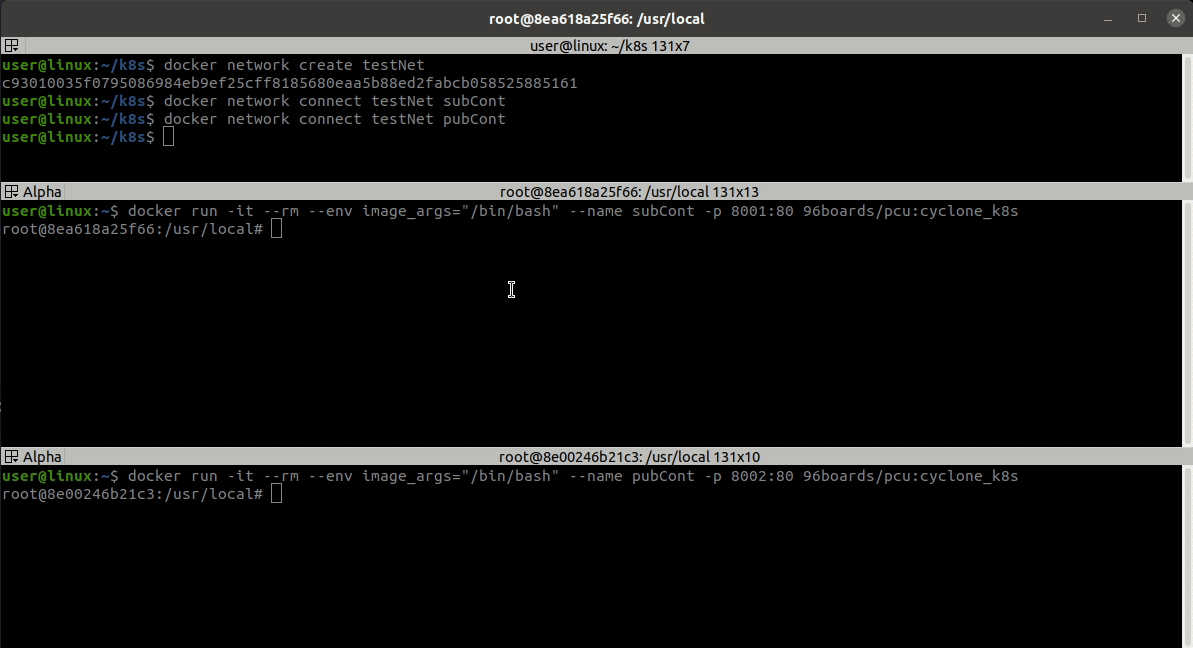
Since we are going to assess the impact of the k8s infrastructure in the Cyclone DDS performance we need to first run the test manually using 2 docker containers. We will use 3 terminals where we have ssh’ed into the PCU.
First, we pull the docker image from Docker Hub.
$ docker pull 96boards/pcu:cyclone_k8s
We will use 2 terminals to start 2 containers and the other to create a network and connect the running containers as we show below.
$ docker run -it --rm --env image_args="/bin/bash" --name subCont -p 8001:80 96boards/pcu:cyclone_k8s
and
$ docker run -it --rm --env image_args="/bin/bash" --name pubCont -p 8002:80 96boards/pcu:cyclone_k8s
Now that the containers are running we can use the split scripts to run the performance test as:
./../../cyclonedds/examples/perfscript/perftest_sub
and
./../../cyclonedds/examples/perfscript/perftest_pub
We run both scrips at the same time using the Broadcast group option in terminator as can be seen.
After the test is finished the data we need will be in the subCont container named sub-process_pid.log. We can log into the subCont container to check the file name to copy it to our host:
$ docker exec -it subCont /bin/bash
And to copy the log we just need to do:
$ docker cp subCont:/usr/local/sub-process_pid.log .
We will rename the log as raw_containers_test_data.txt to use it later.
$ mv sub-process_pid.log raw_containers_test_data.txt
Using k8s
We are now ready to get things running on k8s. To do so we will first create the master node in the laptop.
Note as k8s currently does not support SWAP enabled we need to disable the check on kubelet when creating the master. To do so we add a KUBELET_EXTRA_ARGS and disable the swap preflight check.
$ sudo sed -i '4a\Environment="KUBELET_EXTRA_ARGS=--fail-swap-on=falses"' /etc/systemd/system/kubelet.service.d/10-kubeadm.conf
$ sudo kubeadm init --pod-network-cidr=10.244.0.0/16 --ignore-preflight-errors=Swap
As we can see above, upon successful start of the master node we will see: 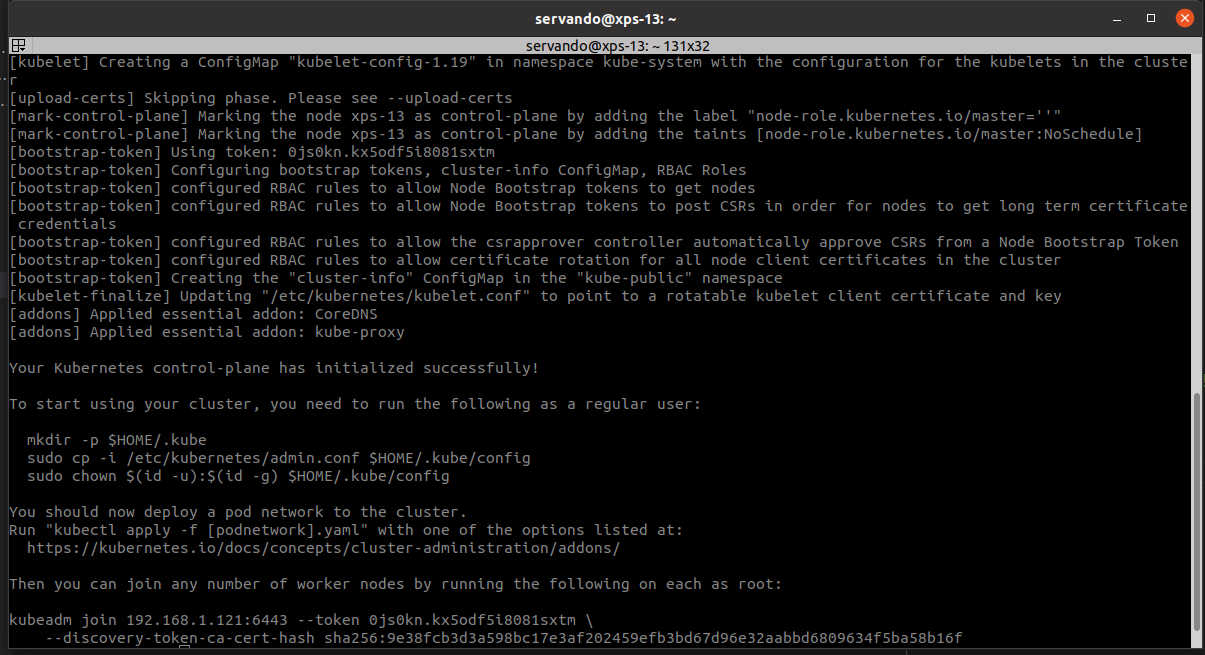
We need to follow the instructions to be able to manage the cluster using kubectl, so:
$ mkdir -p $HOME/.kube
$ sudo cp -i /etc/kubernetes/admin.conf $HOME/.kube/config
$ sudo chown $(id -u):$(id -g) $HOME/.kube/config
And we need to copy the kubeadm join ... that we will need to use to ser up a worker node on the PCU. In our case:
kubeadm join 192.168.1.121:6443 --token ijliwh.eic48rh4nq580jpa --discovery-token-ca-cert-hash sha256:c491fda8e914efca3df9a0de87bf9cfe050f3d3d4e6ba0d55a6109a1d28354d5
We also need to get a CNI add-on that will take care of configuration and cleanup of the pods. We will use the Flannel CNI add-on, which we can deploy just after starting the master node doing:
$ kubectl apply -f https://raw.githubusercontent.com/coreos/flannel/master/Documentation/kube-flannel.yml
Running the kubeadm will throw some preflight errors that for the time being we will ignore. So we can join the PCU as a worker node doing:
$ sudo kubeadm join 192.168.1.121:6443 --token ijliwh.eic48rh4nq580jpa --discovery-token-ca-cert-hash sha256:c491fda8e914efca3df9a0de87bf9cfe050f3d3d4e6ba0d55a6109a1d28354d5 --ignore-preflight-errors=all
We can check that the worker node on the PCU has joined the cluster by running kubectl get nodes on the laptop as shown below. 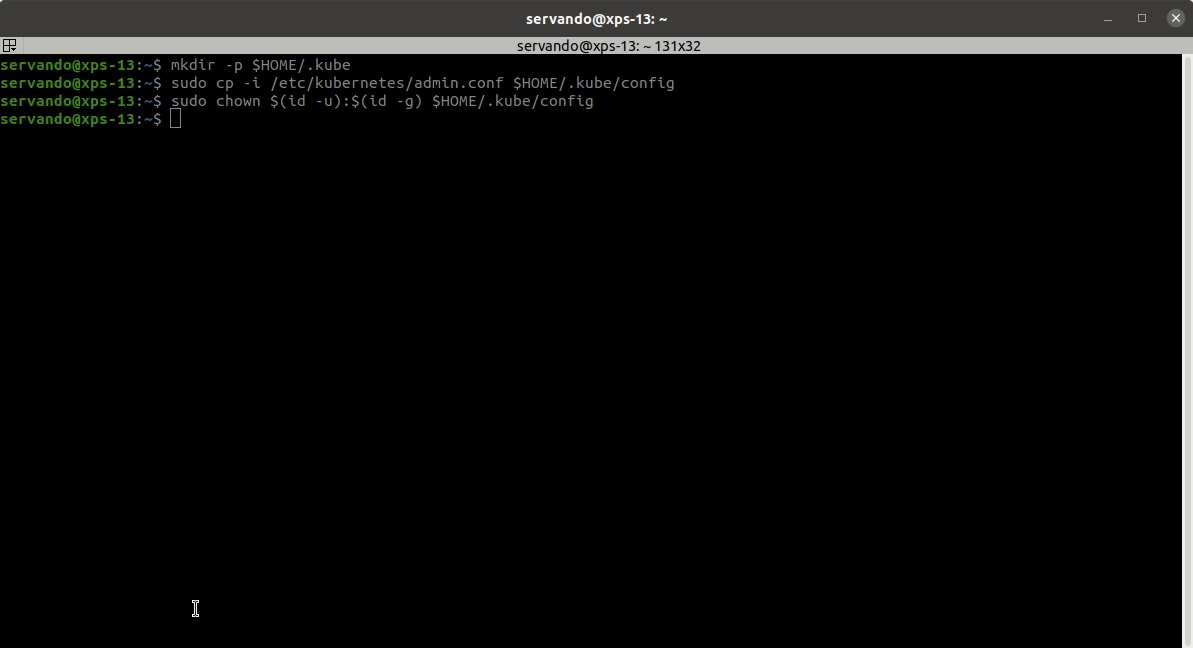
And we need to copy the flannel environment variables to the PCU by doing:
- On laptop:
$ sudo cp /run/flannel/subnet.env . $ scp subnet.env user@192.168.1.100:~ - On PCU:
$ sudo cp subnet.env /run/flannel/subnet.env
We are now ready to deploy our k8s pods to run the cyclonedds pertest. On the laptop, we download the k8s deployments manifest files as:
$ wget https://people.linaro.org/~servando.german.serrano/pcu/k8s/cyclone-perftest-sub.yaml
$ wget https://people.linaro.org/~servando.german.serrano/pcu/k8s/cyclone-perftest-pub.yaml
And deploy them using kubectl on 2 terminals at the same time doing:
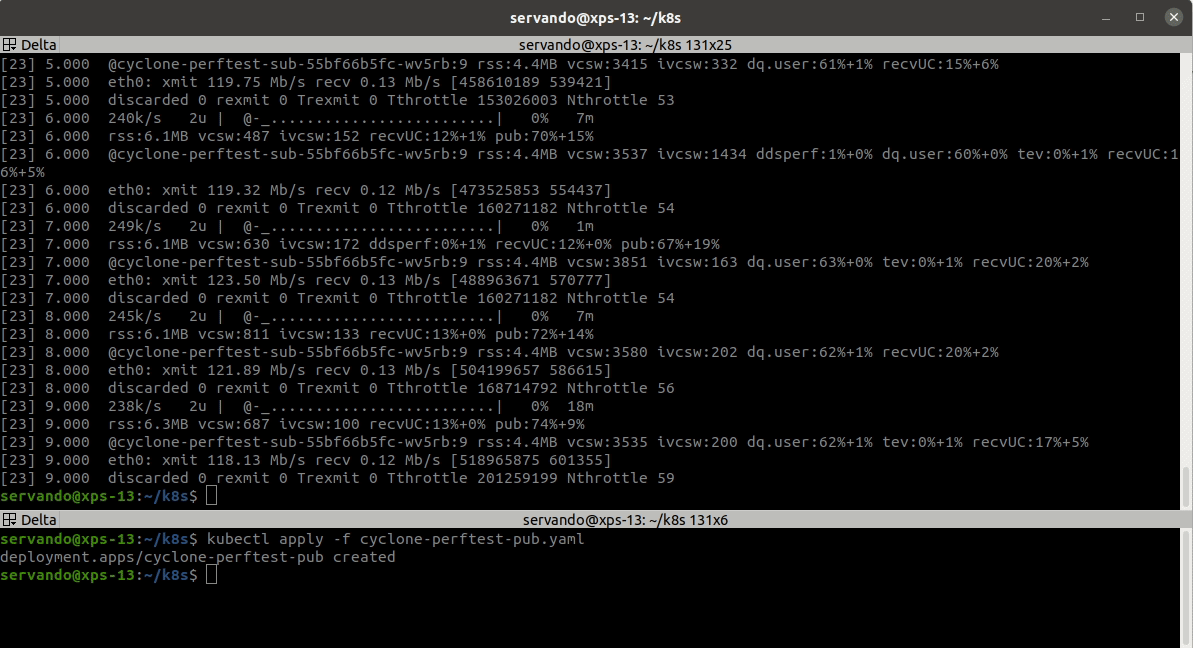
$ kubectl apply -f cyclone-perftest-sub.yaml
and
$ kubectl apply -f cyclone-perftest-pub.yaml
and check that the pods are created. 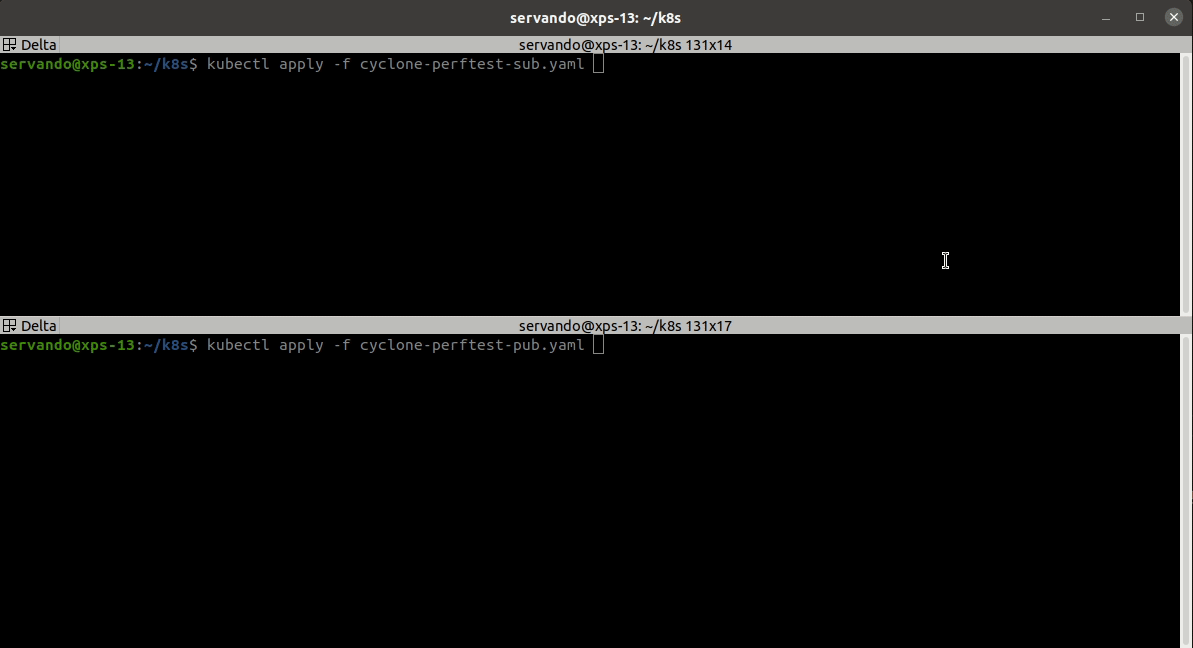
We can check that the test is running by using the kubectl logs command as shown below. 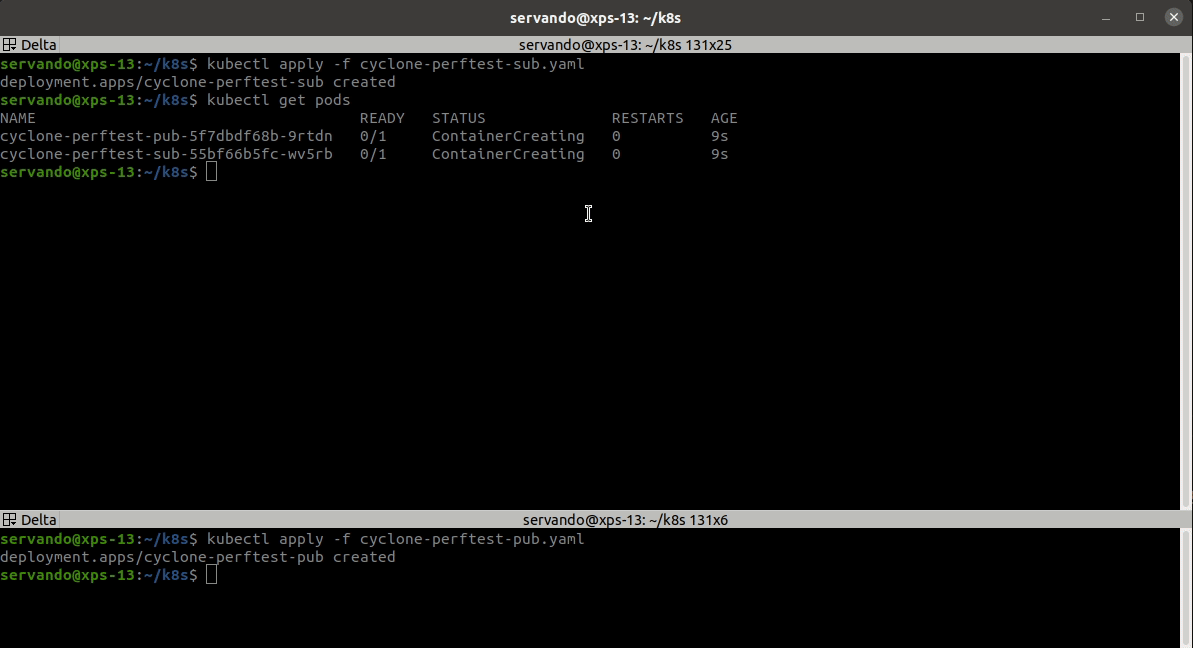
We can log into the running pod using kubectl exec to find out the process pid to be able to copy the log after the test finishes by doing:
$ kubectl exec --stdin --tty cyclone-perftest-sub-55bf66b5fc-wv5rb -- /bin/bash
And that’s it for running the performance test, we just need to wait now for the test to be finished and we can copy the sub-process_pid.log file from the cyclone-perftest-sub-... pod as:
$ kubectl cp cyclone-perftest-sub-55bf66b5fc-wv5rb:/usr/local/sub-process_pid.log ./raw_k8s_test_data.txt
Performance comparison
Following the completion of both approaches for the performance testing we can now plot both sets of results together to compare them.
We need first to preprocess the subcriber logs. To do so we use the throughput-test-extract script from the perfscript folder of the Cyclone DDS source code.
$ wget https://raw.githubusercontent.com/eclipse-cyclonedds/cyclonedds/master/examples/perfscript/throughput-test-extract
$ sudo chmod +x throughput-test-extract
$ ./throughput-test-extract raw_containers_test_data.txt > containers_test_data.txt
$ ./throughput-test-extract raw_k8s_test_data.txt > k8s_test_data.txt
To plot the data from both tests in the same figure we rename the k8s test data file to k8s_test_data.txt and the one using Docker containers manually to containers_test_data.txt. A simple python script can be downloaded into the folder containing the data files and executed to get a figure like the one below:
$ wget https://people.linaro.org/~servando.german.serrano/pcu/k8s/dds_data_plot.py
$ python dds_data_plot.py
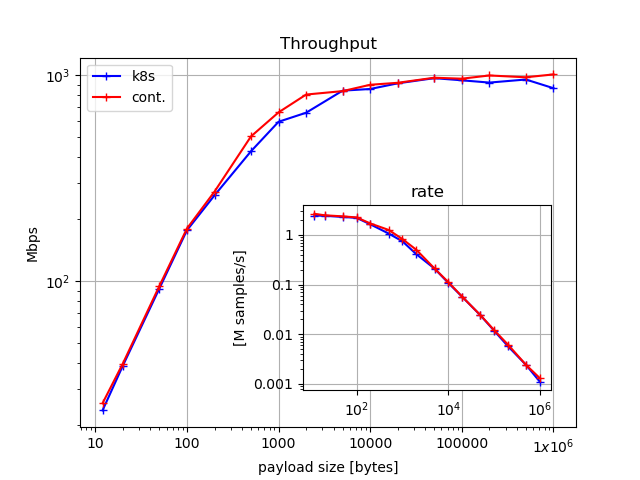
The above figure shows that the k8s infrastructure does not impact the outcome of running Cyclone DDS performance test. Taking this result into account we are now ready to consider the deployment of Cyclone DDS based applications using k8s to manage the different containers we might need across a range of boards.
Conclusion
In this post we have shown how to deploy Cyclone DDS based applications on Autocore’s PCU using k8s to manage the infrastructure and whether the k8s infrastructure impacted the performance of Cyclone DDS.
Taking this initial setup as reference we are now ready to take it further with other configurations, such as increasing the number of applications (e.g. Autoware packages) or the amount of worker nodes using a wider range of 96Boards.
This article is Part 10 in a 15-Part Series.
- Part 1 - 96boards: Autoware everywhere | Autoware.AI and Hikey970
- Part 2 - 96boards: Autoware everywhere | Autoware.Auto and Hikey970
- Part 3 - 96boards: Autoware everywhere | Bridging .AI and .Auto in the Hikey970
- Part 4 - 96boards: Autoware everywhere | Autoware.AI and Dragonboard-845c
- Part 5 - 96boards: Autoware everywhere | Autoware.Auto, bridge with .AI and Dragonboard-845c
- Part 6 - 96boards: Autoware everywhere | Binding Autoware.AI nodes to CPUs
- Part 7 - 96boards: Autoware everywhere | Defaulting to Cyclone DDS
- Part 8 - 96boards: Autoware everywhere | First look at AutoCore's PCU
- Part 9 - 96boards: Autoware everywhere | meta-arm-autonomy in AutoCore's PCU
- Part 10 - 96boards: Autoware everywhere | Running Cyclone DDS on Kubernetes
- Part 11 - 96boards: Autoware everywhere | Xenomai on PCU
- Part 12 - 96boards: Autoware everywhere | K8s-based Autoware deployment on PCU
- Part 13 - 96boards: Autoware everywhere | Autoware.Auto 3D Perception Stack using k8s on PCU
- Part 14 - 96boards: Autoware everywhere | Multi-board Autoware.Auto 3D Perception Stack using k8s
- Part 15 - 96boards: Autoware everywhere | Updating Autoware.Auto 3D Perception Stack modules


