Getting Started
Learn about your WinLink E850-96Board board as well as how to prepare and set up for basic use
Setup - What you will need
Required
- WinLink E850-96Board development board
- Power adapter
- 96Boards specification requires a 12V with 2500mA power adapter
Optional
- HDMI Display
- USB Keyboard and Mouse
Out of the Box
In the Box you can find the WinLink E850-96Board as well as a microSD card which comes with a pre-installed linux.
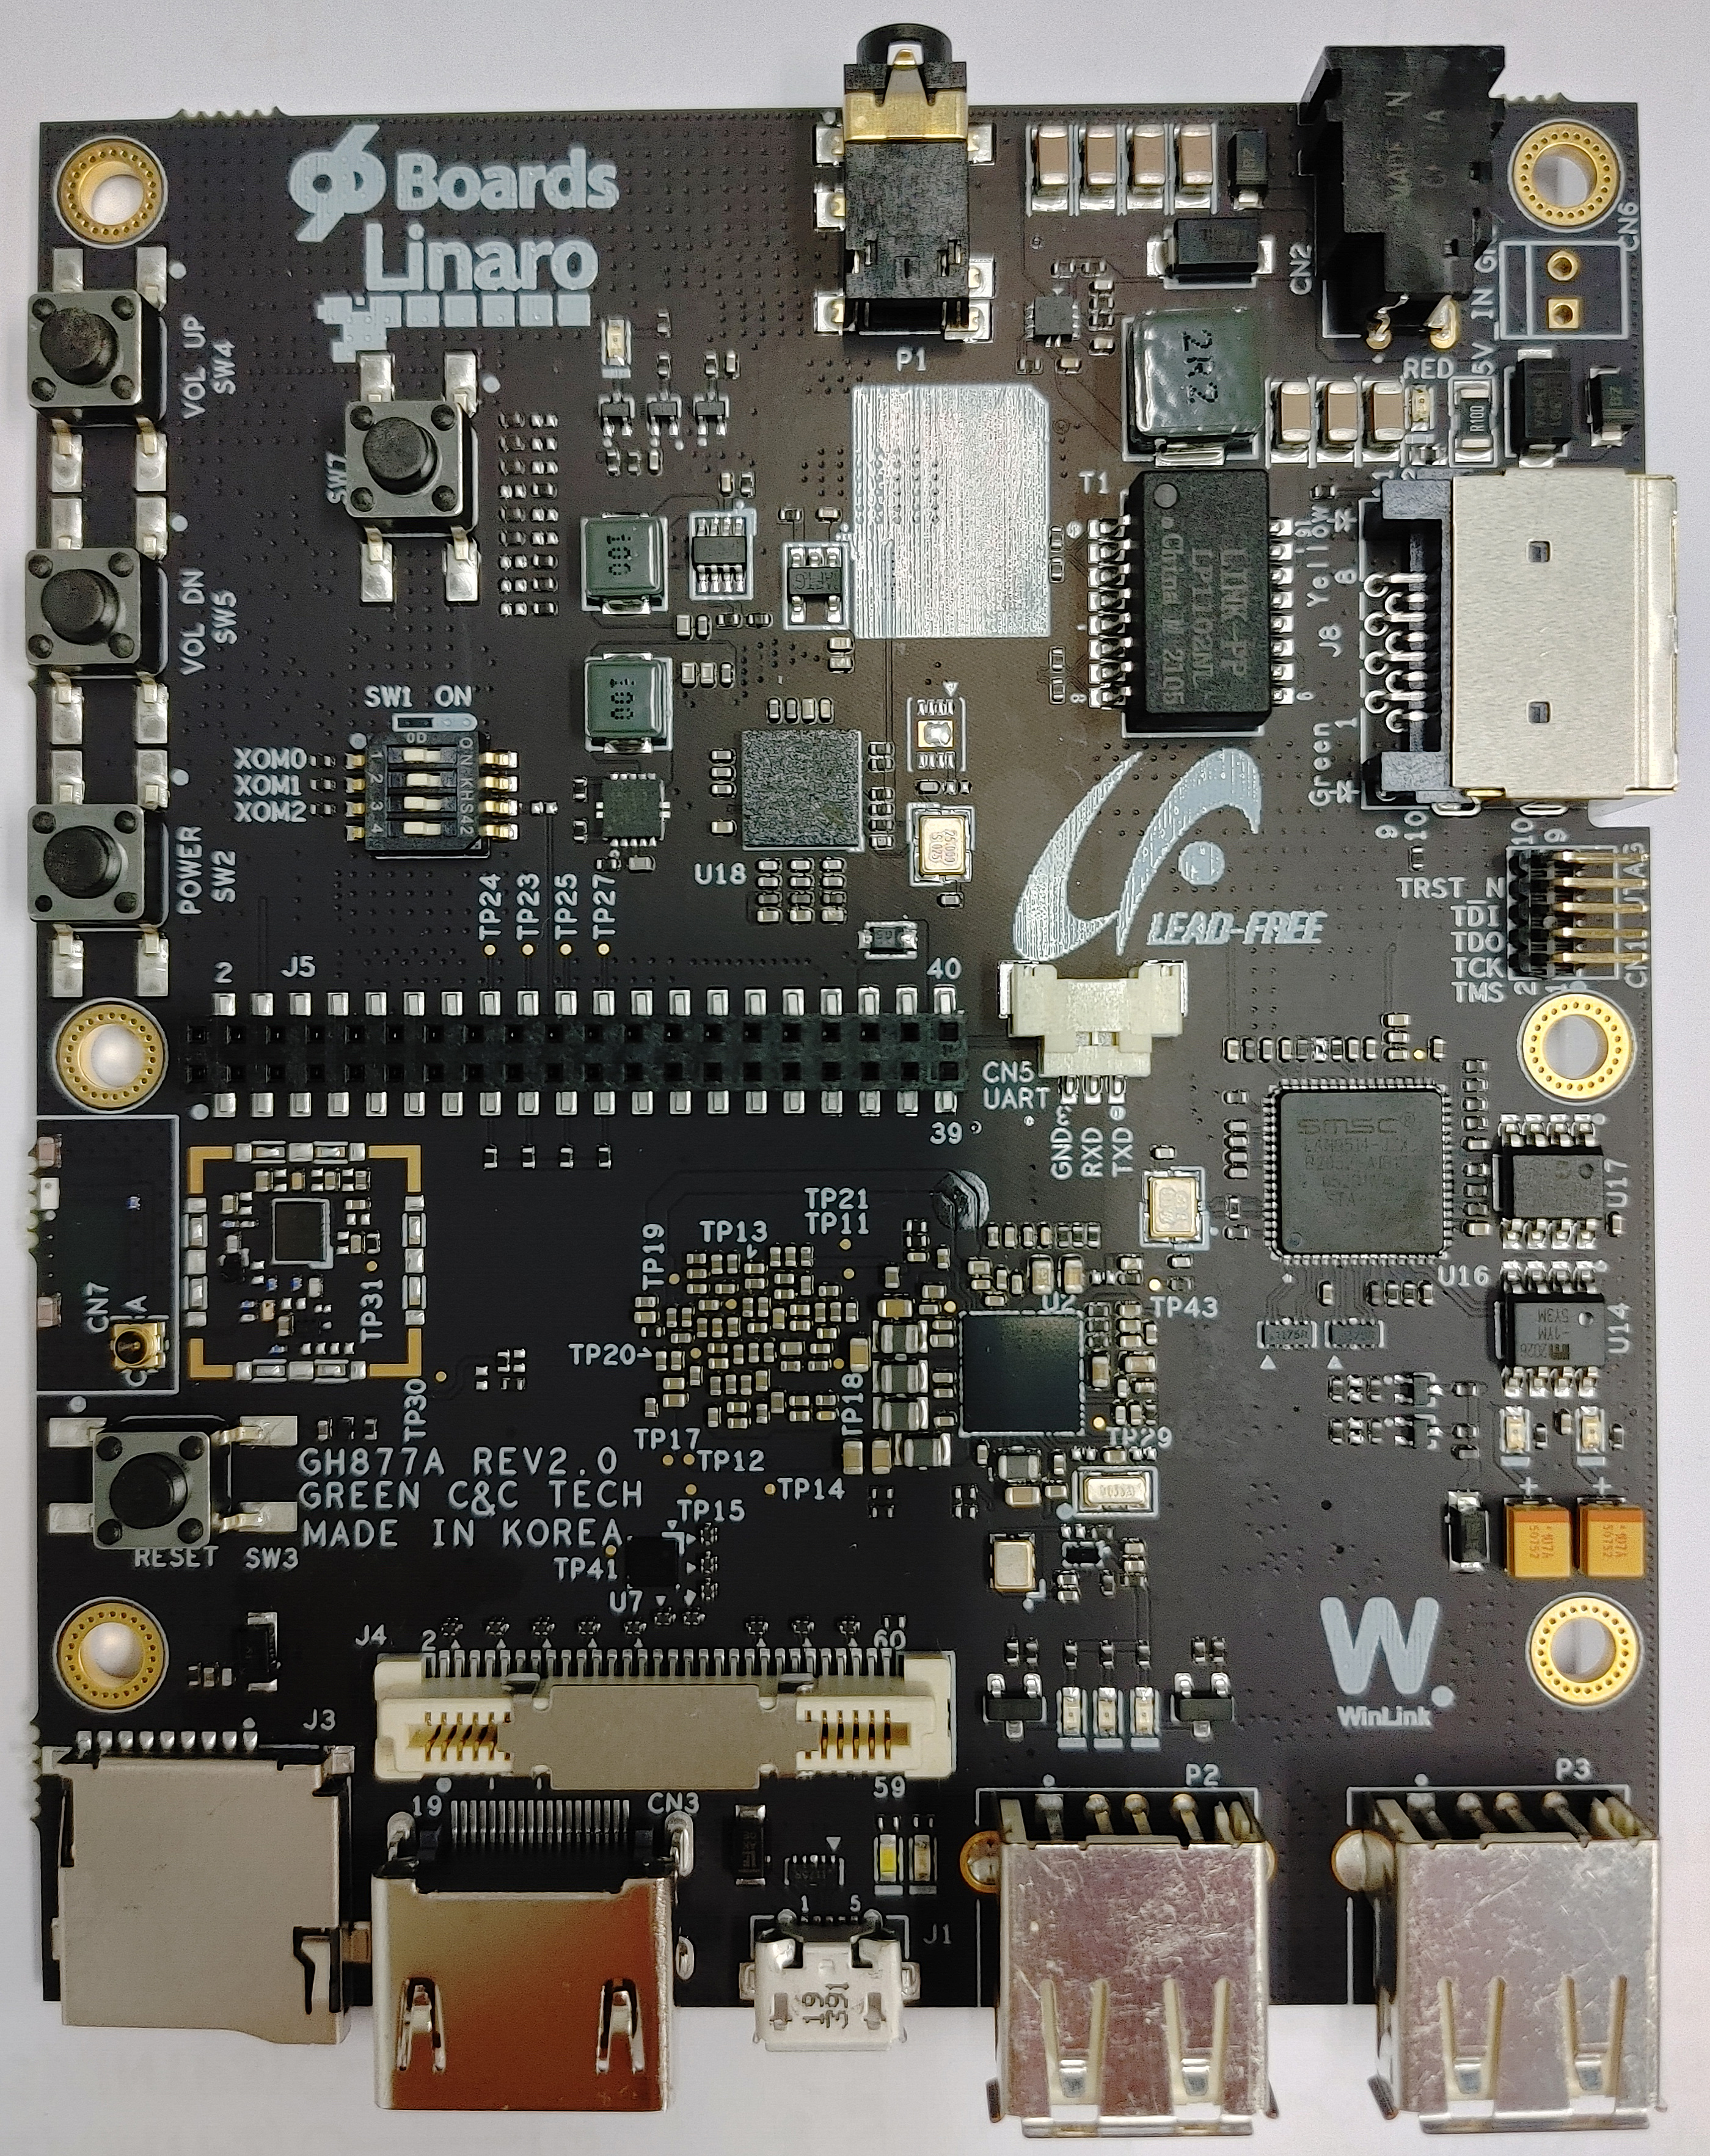
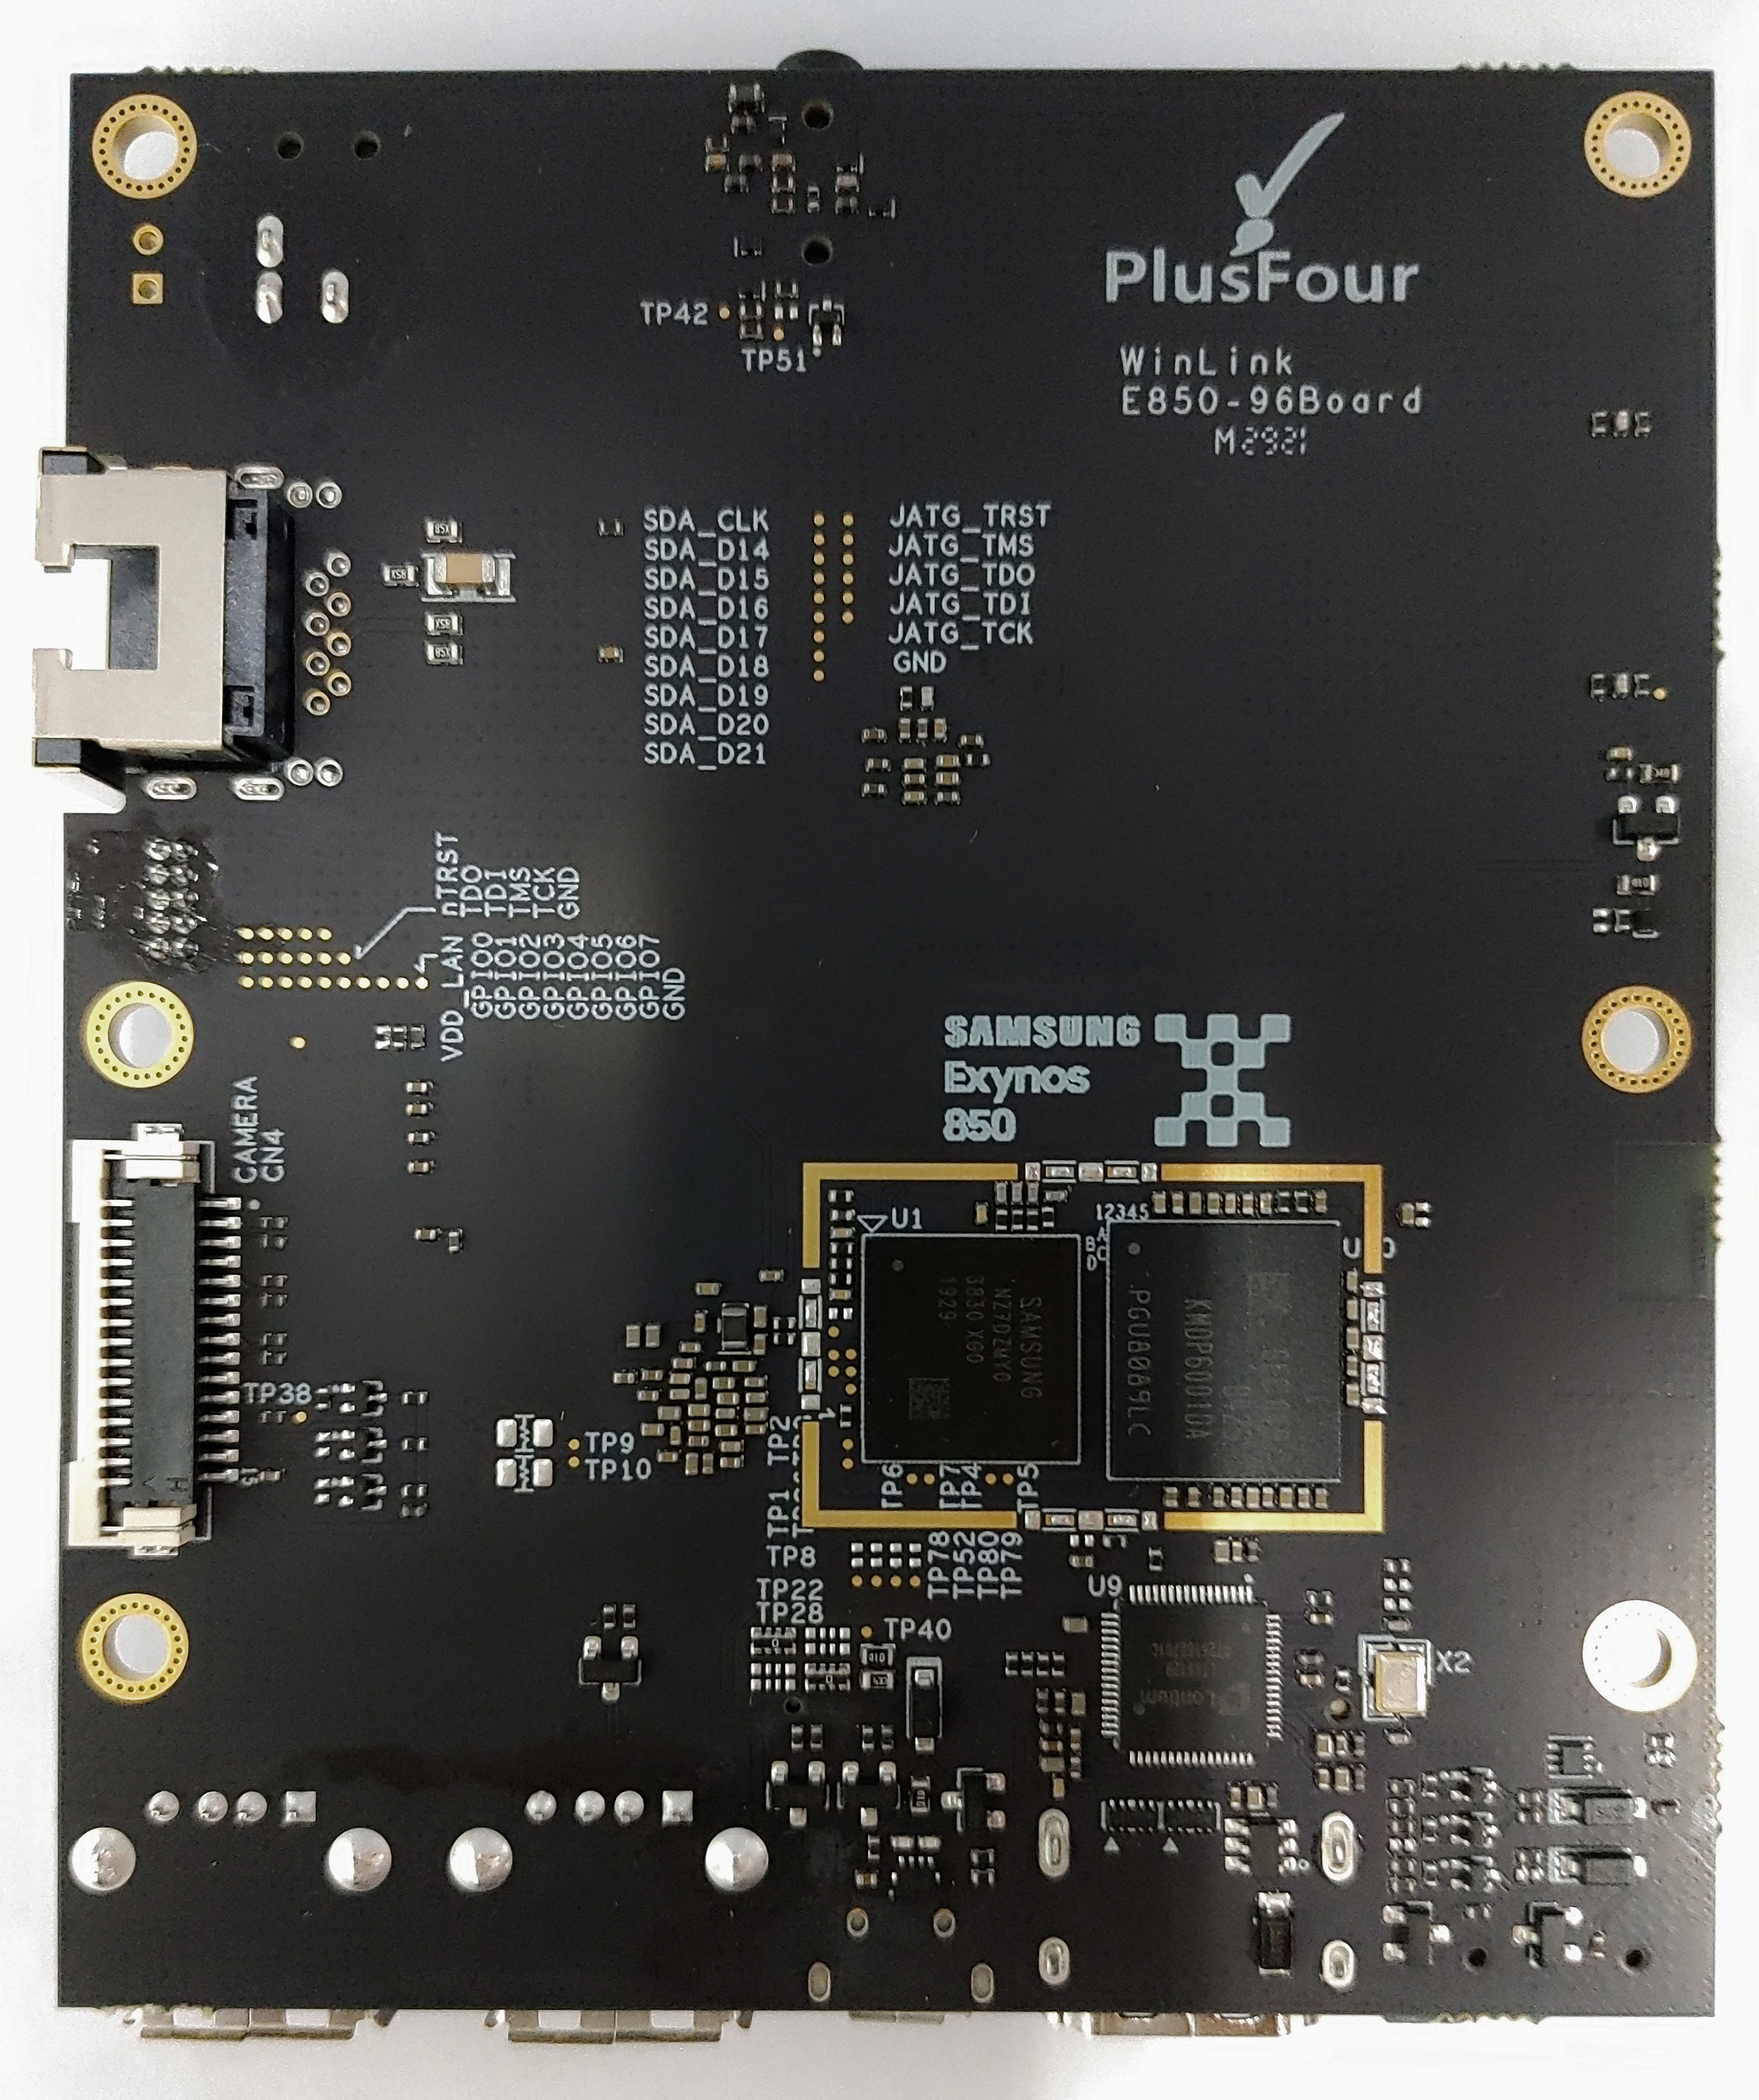
Features
| Component | Description |
|---|---|
| SoC | Exynos 850, 64-bit |
| CPU | Cortex-A55 Octa core up to 2.0GHz |
| GPU | ARM Mali G52MP1, 2nd Generation Bifrost architecture OpenGL ES1.1/2.0/3.2, OpenCL 2.0 Full Profile and Vulkan 1.0/1.1 |
| RAM | 4GBytes LPDDR4 on board(MCP, KMDP6001DA-B425) |
| Storage | eMMC v5.1, 64GB onboard(MCP, KMDP6001DA-B425) and 1x MicroSD card slot |
| Ethernet Port | 1x10/100 Ethernet (RJ-45) socket |
| Wireless | WiFi 2.4/5GHz & BT5.0 (S612 RF transceiver) |
| USB | 1x USB 2.0 Micro B (Debug only), 2x USB 2.0 Type A (Host mode only) |
| Display | HDMI (v1.4 Type-A full-size connector) |
| Video | HEVC (High Efficiency Video Coding) codec which enables FHD(1920X1080) 60fps encoding and decoding simultaneously |
| Audio | Stereo Headphone output & MIC input via 3.5mm Audio Jack Built-in audio interfaces HMU(Headphone Management Unit) by PMIC |
| Camera | Up to 3-image sensor(camera) inputs with a max. resolution of 21.7MP Bayer supported |
| Expansion Interface | 40-Pin Low Speed Header 60-Pin High Speed Header |
| LED | 3x green user controlled LEDs 1x blue Bluetooth enabled 1x yellow WiFi enabled |
| Button | Power, Volume UP/DN, Reset |
| Power Source | 12V@2A adapter with a DC plug: Plug specification is inner diameter 1.75mm and outer diameter 4.75mm |
| OS Support | AOSP(Android-10 based k4.14) / LINUX(TBD) |
| Size | 100mm x 54mm meeting 96Boards™ Consumer Edition Extended Standard form dimensions specifications |
Starting the board for the first time
This short guide leads you through the first steps to start exploring your WinLink E850-96Board.
Easy Setup Guide
- USB cable to Dubug
- Connect the Micro-USB end of the USB cable to the debug port and TypeA-USB to the computer host.
- Open the serial port tool of the host computer and apply the following configuration:
- baud rate: 1500000
- Data bits: 8
- Stop Bit: 1
- Parity Check: NA
- flow control: NA
- Connect HDMI cable (optional)
- Connect one end of the HDMI cable to the development board HDMI port and the other end to a display that supports HDMI.
- Connect to Ethernet (optional)
- Plug wired Ethernet into RJ45 ports ofthe development board.
- Connect mouse and keyboard (optional)
- Insert a USB mouse and USB keyboard to the USB port of the development board.
- Mouse and keyboard to watch/track on HDMI display.
- Connect LTE module (optional)
- Insert LTE/5G module into M.2 port
- Insert SIM card at the same time
- Connect a USB-OTG cable (optional)
- When firmware needs to be reflashed, plug micro USB port of USB data cable into USB OTG port of development board, and type a USB at the other end to computer host
- Connect DC12V power cord (power on)
- Connect the 12V power plug, and when the power supply is connected, the development board starts automatically.
Whats Next?
If you are already familiar with the WinLink E850-96Board and would like to change out the stock operating system, please proceed to one of the following pages:
- Downloads page: This page lists all Linaro and 3rd party operating systems available for the WinLink E850-96Board
- Installation page: If you already have the images you need, this page has information on how to install the different operating systems onto your WinLink E850-96Board
- Support
- From bug reports and current issues, to forum access and other useful resources, we want to help you find answers
Back to the WinLink E850-96Board documentation home page