Linux/macOS Host
This section show how to install a new operating system to ROCK960 on board eMMC using the rkdeveloptool on a Linux or macOS host computer.
- Step 1: Make sure rkdeveloptool is set up on host computer
- Step 2: Download all necessary images
- Step 3: Boot device into maskrom mode
- Step 4: Prepare the flash environment
- Step 5: Flash images onto ROCK960 eMMC and reboot
Step 1: Make sure rkdeveloptool is set up on host computer
Linux
To build rkdeveloptool on a debian based Linux distribution, follow the instructions below:
Install build dependency:
sudo apt-get install libudev-dev libusb-1.0-0-dev dh-autoreconf
Clone the source code and build:
git clone https://github.com/rockchip-linux/rkdeveloptool
cd rkdeveloptool
autoreconf -i
./configure
make
Now you have rkdeveloptool executable at the current directory.
sudo cp rkdeveloptool /usr/local/bin/
macOS
To build rkdeveloptool on macOS, you need homebrew(or similar package manager) to install required packages.
Install build dependency:
brew install automake autoconf libusb
Clone the source code and build:
git clone https://github.com/rockchip-linux/rkdeveloptool
cd rkdeveloptool
autoreconf -i
./configure
make
Now you have rkdeveloptool executable at the current directory.
sudo cp rkdeveloptool /usr/local/bin/
Step 2: Download all necessary images
Go to the Downloads page to donwload the image.
Extract the image tar ball, for SD card/eMMC AIO image, the file list as below:
- rk3399_loader_v1.08.106.bin - run on target to init DRAM and flash, will not write to eMMC
- system.img - image contains bootloader/kernel/rootfs
Step 3: Boot device into maskrom mode
Maskrom mode is the code inside the Rockchip SoC running and waiting for commands from USB when there is no external bootable media.
To put the device into maskrom mode:
For ROCK960
You need USB3.0 or USB2.0 type A to type C cable:
- power on rock960
- plug the rock960 to Linux desktop with USB type A to type C cable
- press and hold the maskrom key, then short press reset key
- release maskrom key(important!)
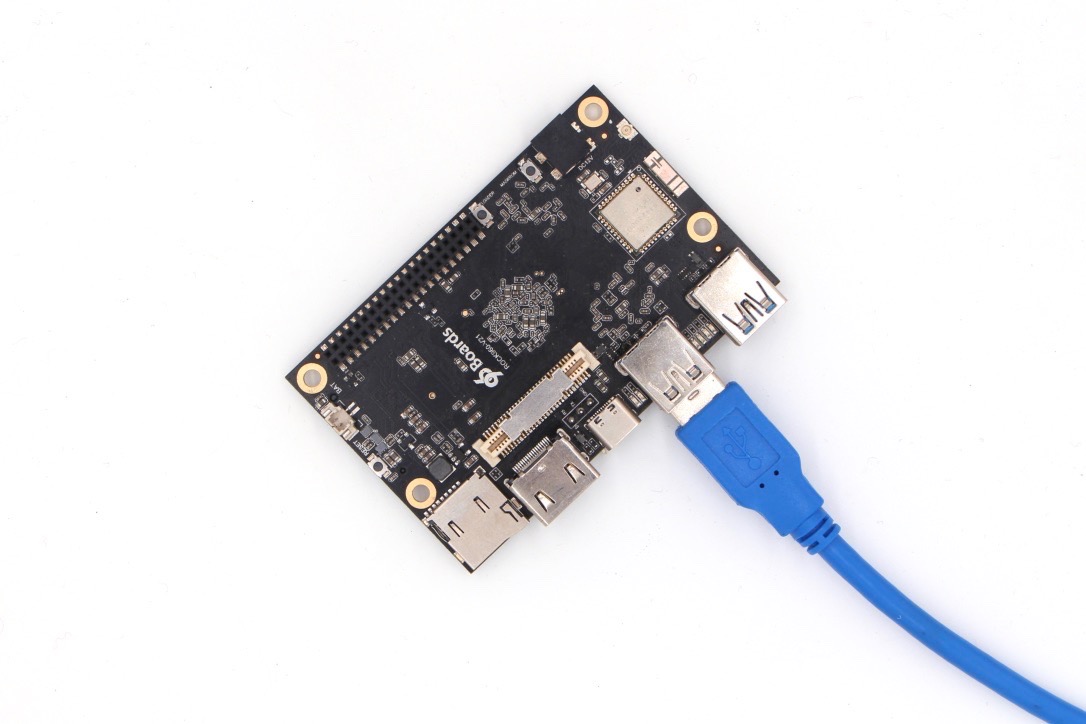
For ROCK960C
You need USB3.0 or USB2.0 type A to type A male cable:
- plug the eMMC module on rock960c and power on
- plug the rock960c to Linux desktop with USB type A to type A male cable from the USB 3.0 OTG port, as below:
- press and hold the maskrom key, then short press reset key
- release maskrom key(important!)
Note: You don’t need to switch the HOST/DEVICE switch for USB OTG, in maskrom mode, USB OTG is forced as device mode.
After the device is in maskrom mode, on the host PC, lsusb should show the following VID/PID if the board is in maskrom mode: Bus 003 Device 061: ID 2207:0011
Note: if no right USB device found, try:
- Press and hold maskrom key longer, and short press and release reset key
- Check your usb cable, plug and unplug the usb cable, reverse plug the type C cable and try
- Try the direct USB port at the back of mother board
- Try with USB 2.0 cable, not 3.0
Step 4: Prepare the flash environment
Run the following command to download and run the mini loader to init DRAM and prepare flashing environment:
rkdeveloptool db rk3399_loader_v1.08.106.bin
Note: If the above command throws any error, please follow the Troubleshooting section to resolve it.
Step 5: Flash images onto ROCK960 eMMC and reboot
Write the GPT image to eMMC with the following command and address:
rkdeveloptool wl 0 system.img
This will take a while, after it finishes, run
rkdeveloptool rd
Now you reboot to the new image on eMMC.
Flash by partitions
For development, sometimes we don’t need to flash all the images, we only want to update some partitions. Below is how to flash each partitions one by one. The GPT partition is defined in the image generation scripts.
| Part Number | Offset | Name | Description |
|---|---|---|---|
| 1 | 32KB | loader1 | First stage loader |
| 2 | 8MB | loader2 | U-boot image |
| 3 | 12MB | trust | ATF |
| 4 | 16MB | boot | Kernel partition, bootable |
| 5 | 128MB | rootfs | Rootfs |
When the board is in maskrom mode, flash the partitions with the following command and address:
rkdeveloptool db rk3399_loader_*.bin
rkdeveloptool wl 64 idbloader.img
rkdeveloptool wl 16384 uboot.img
rkdeveloptool wl 24576 trust.img
rkdeveloptool wl 32768 boot.img
rkdeveloptool wl 262144 rootfs.img
Troubleshooting
“Creating Comm Object failed!”
After run any command of rkdeveloptool, it keeps complaining
Creating Comm Object failed!
or
not found any devices!
It’s permission issue, you can run the following command to set the udev rule:
echo 'SUBSYSTEM=="usb", ATTR{idVendor}=="2207", MODE="0666",GROUP="plugdev"' | sudo tee /etc/udev/rules.d/51-android.rules
Or use sudo before rkdeveloptool command
If this doesn’t fix the problem, it might be a USB3 power/signal issue, if you are using a USB3 hub, please directly connect to the USB3 port of the mother board at the back, not the front panel USB3 port.