Getting Started
Learn about your Oxalis board as well as how to prepare and set up for basic use
Setup - What you will need
Need
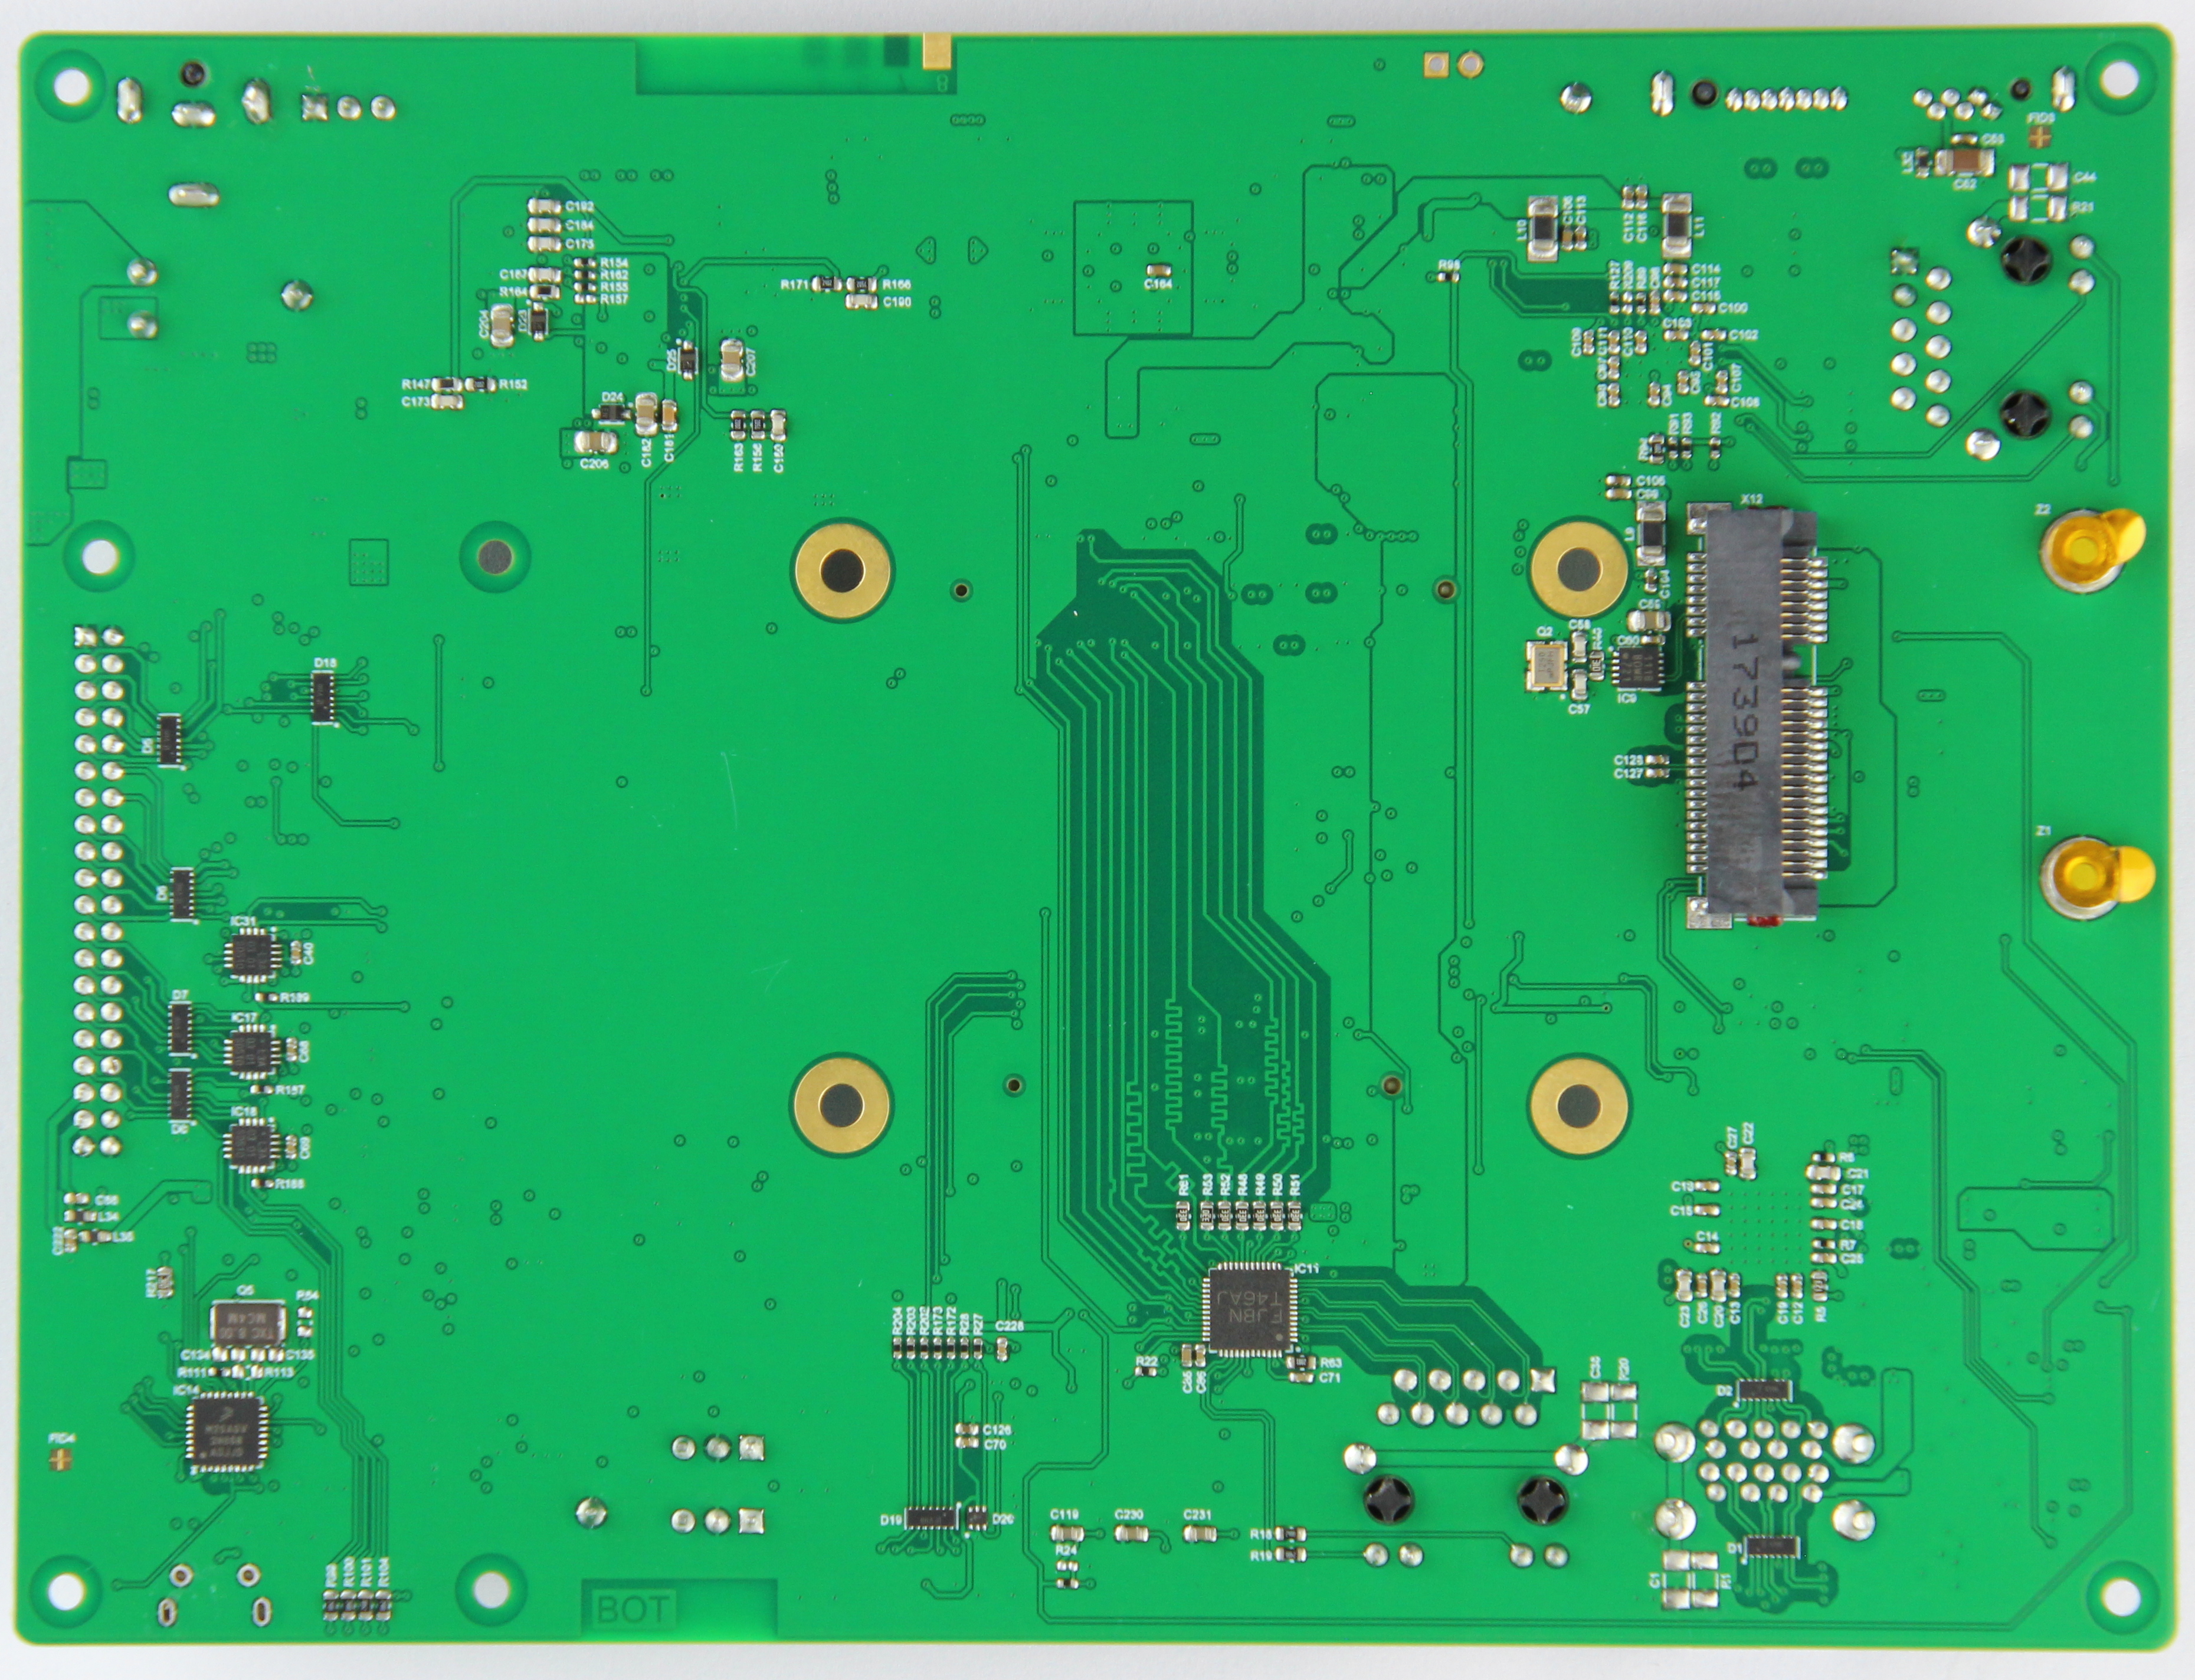
- Oxalis Board based on the NXP Layerscape LS1012A Processor
- Power adapter
- 96Boards EE specifications requires a 12V power supply with 2.5mm jack (recommended 8A to make use of varous interface cards)
- Configuration Switch
- Ensure the SW1 is set to 1-2 to enable UART2 and disable JTAG
Optional
- MicroSD card with adapter
- For quick and easy switching between operating systems and extra storage
- SATA Harddisk
- extra storage
- PCIe Wireless Cards or USB WiFi dongles
- to allow you to connect to wireless networks
- Mezzanine Products These devices allow you to expand your experience with any 96Boards by adding peropherals and enhancing onboard components
- USB to MicroUSB cable
- This is needed for serial console interface and reflashing the bootloader and RCW (Reset Configuration Word) see section Flashing for details
- Standard Ethernet cables
Out of the Box
The Oxalis board is ready to use “out of the box” with a preinstalled version of the Debian Linux distribution. The following sections will give you a short introduction how to setup the board for the very first time.
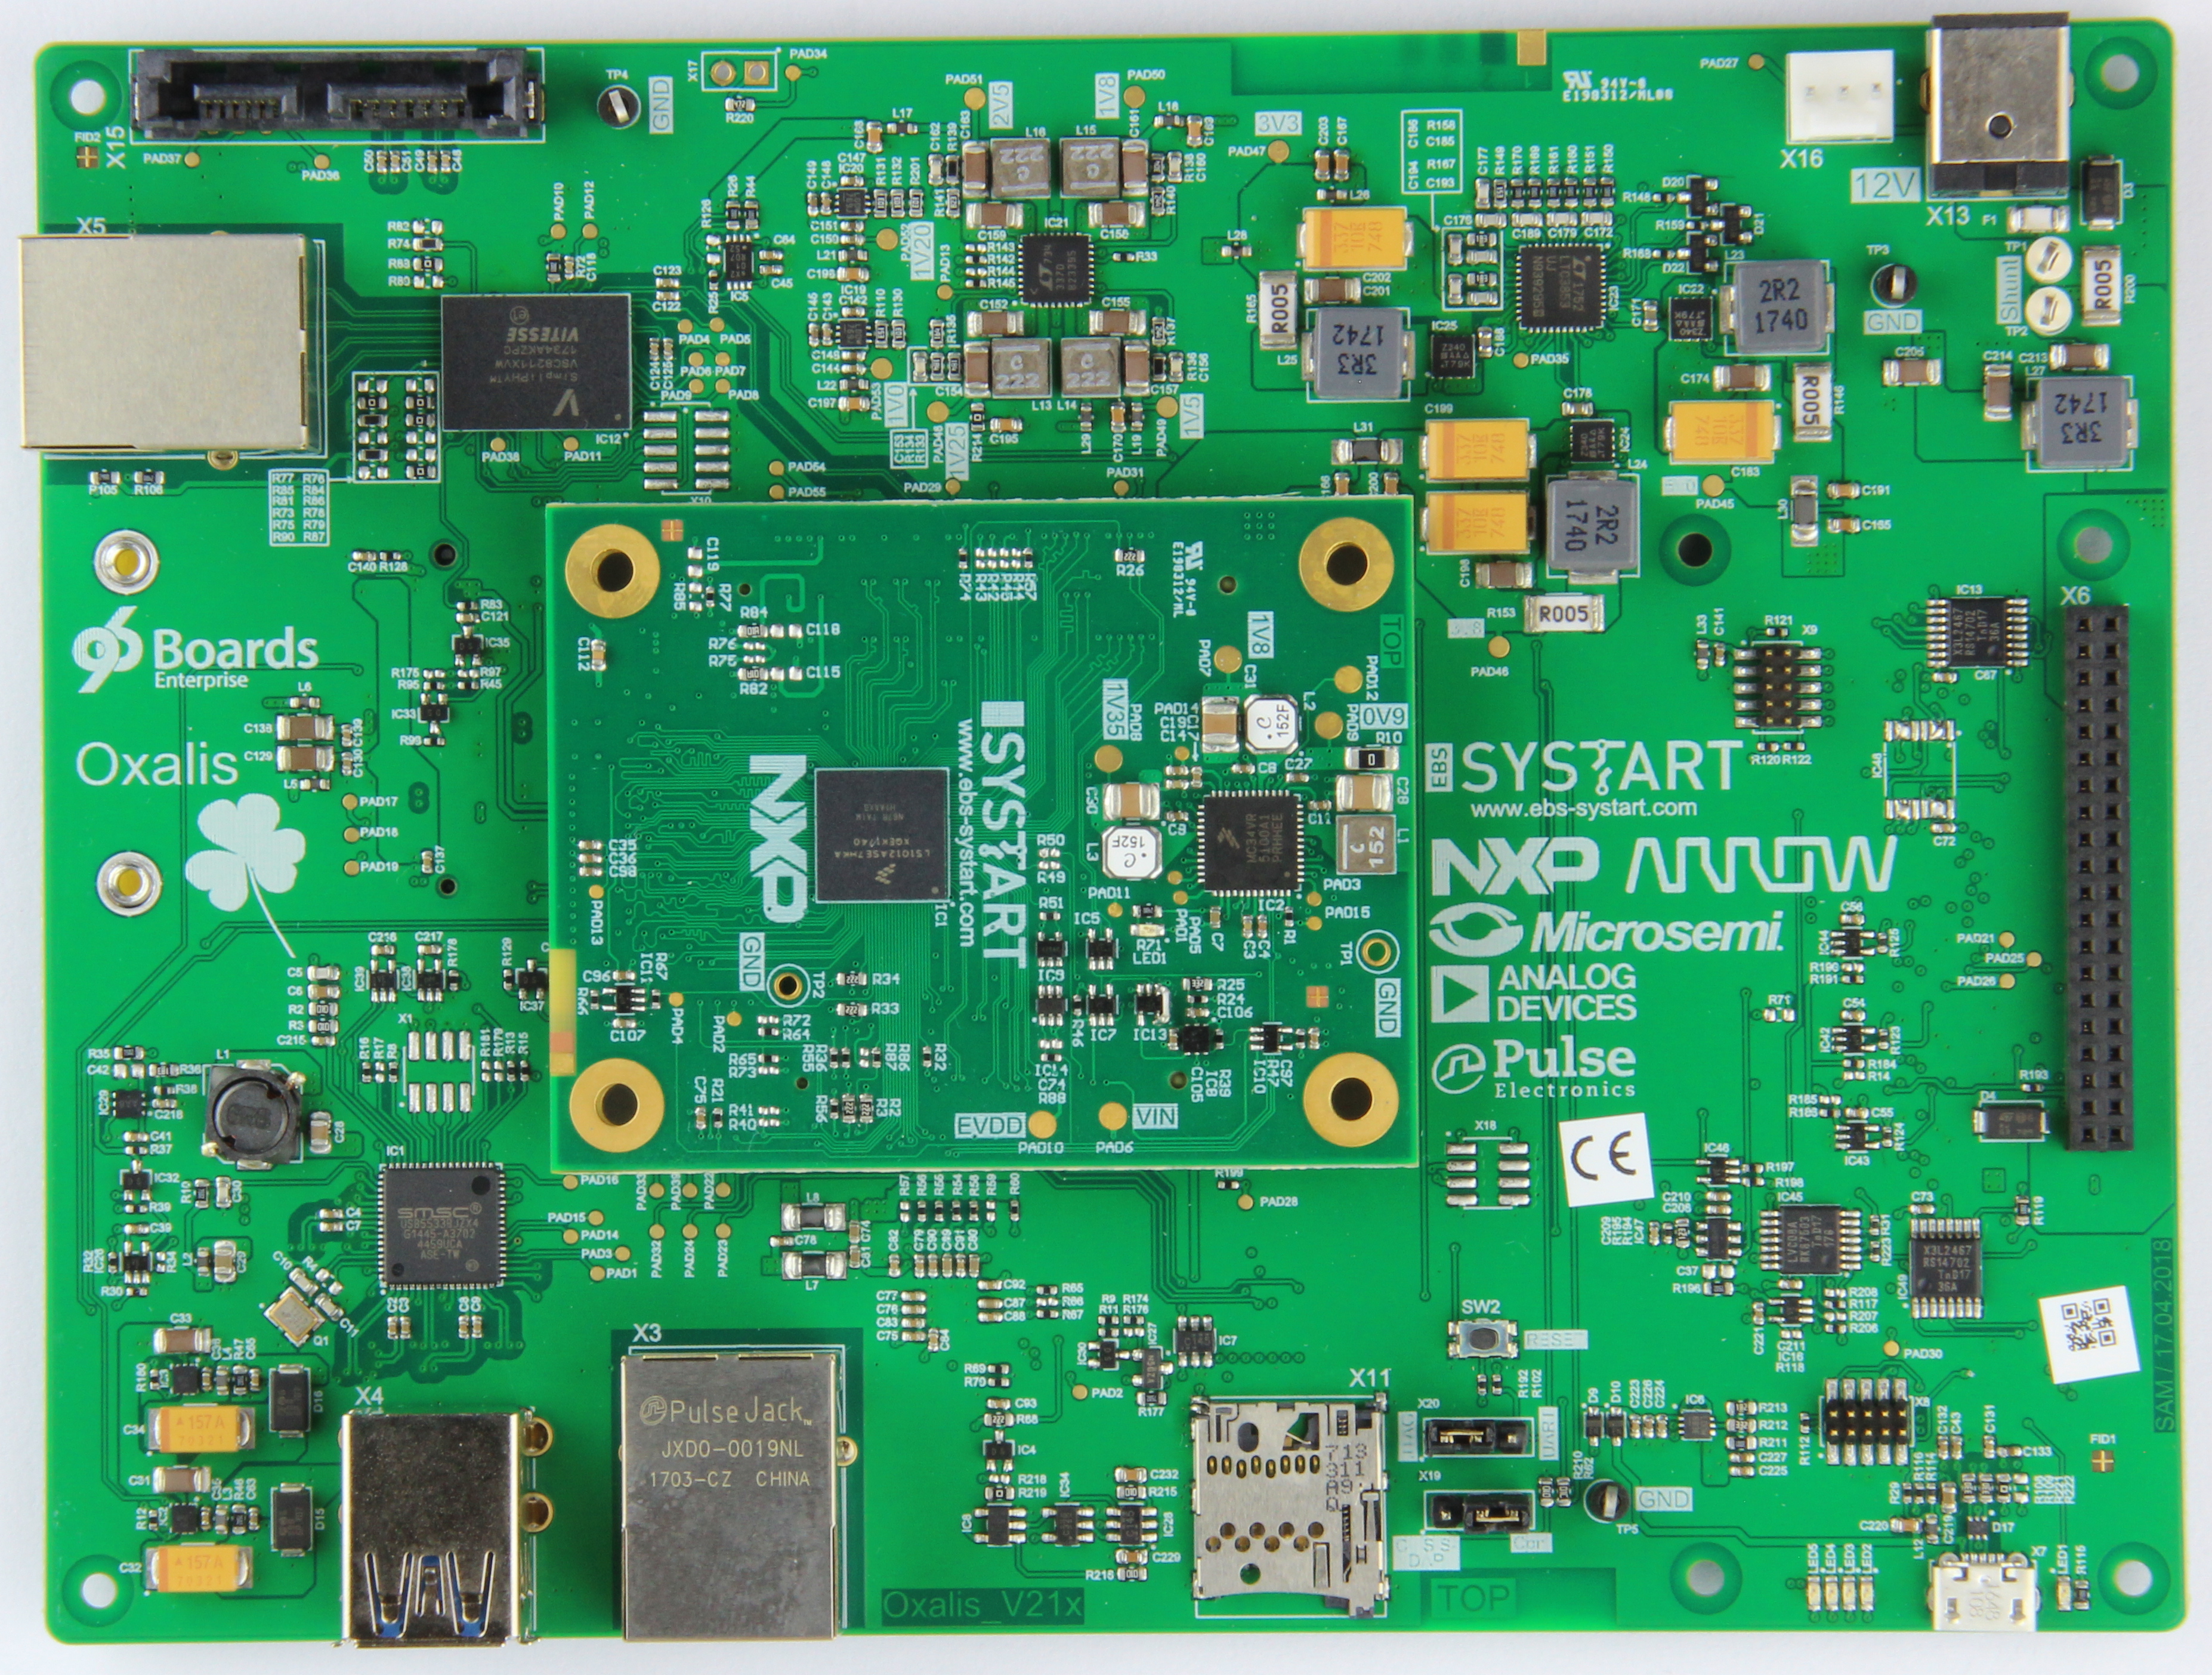
Features
| Component | Description |
|---|---|
| SoC | NXP Layerscape LS1012A |
| CPU | Cortex-A53 |
| RAM | 1GByte |
| PMU | NXP VR5100 |
| Storage | 16MByte SPI Flash for bootloader and RCW and MicroSD Card slot |
| Ethernet Port | 2x 10/100/1000 |
| USB | 2x USB 3.0 |
| Expansion Interface | 40 pin low speed expansion connector: +1.8V, +5V, SYS_DCIN, GND, UART, I2C, SPI, PCM, PWM,GPIO x12 |
| Button | Power/Reset |
| Power Source | 12V@TBD, 2.5mm center pin 8A DC jack connector, CUI Inc PJ-063BH or equivalent |
| OS Support | Debian GNU Linux |
| Size | 160x120mm |
IMPORTANT NOTES
- The onboard Flash contains u-boot and RCW (Reset Configuration Word) settings. Pleae be aware that erasing the flash or programming a wrong RCW or u-boot will brick the board and reprogramming in that case is only possible with a JTAG dongle.
Starting the board for the first time
The Oxalis comes preloaded with Debian Linux and can be up and running with a few simple steps:
- Connect the Oxalis to your network
- Connect the USB Cable. Via the micro USB connector X7 which will give you access to the console port and the integrated CMSIS-TAP debugger
Note: The above setup will cause Oxalis Board to Auto Power up when it is plugged into power
- Connect the power supply to the Oxalis. The board will begin to boot Debian Linux immediately
What’s Next?
If you are already familiar with the Sophon Edge and would like to change out the stock operating system, please proceed to one of the following pages:
- Downloads page: This page lists all Linaro and 3rd party operating systems available for the Sophon Edge
- Installation page: If you already have the images you need, this page has information on how to install the different operating systems onto your Sophon Edge
- Guides
- Support
- From bug reports and current issues, to forum access and other useful resources, we want to help you find answers
Back to the Oxalis documentation home page